If you're looking to add a unique and personal touch to your tufting projects, designing your own patterns is a great starting point. Creating your own designs can give your rugs, wall hangings, or pillows a completely unique look. In this article, we'll walk you through the process of creating tufting patterns step by step.
1. Sources of Inspiration and Idea Collection
Getting inspired before designing a pattern is the cornerstone of the creative process. Here are some sources of inspiration:
Nature : Natural shapes such as flowers, leaves, mountains.Art and Graphics : You might be inspired by minimalist or abstract artwork.
Geometric Shapes : Simple lines, squares, circles provide a modern look.
Your Own Drawings : You can create patterns from your own sketchbook.
Pinterest, Instagram : Stay on trend by checking out popular tufting designs.
2. Required Tools
To make your own patterns you will need some basic tools:
Paper or Digital Drawing TabletsPen, Pencil or Digital Pen
Projector or Pattern Transfer Paper
Colored Pencils or Crayons
Design Programs such as Photoshop, Illustrator, Procreate (Optional)
3. Step-by-Step Pattern Preparation Process
Step 1: Determine the Tufting Project
Decide whether you're making a rug, pillow, or wall panel. Adjust the pattern complexity based on the size of the project.
Step 2: Create the Foundation of the Design
Start with simple lines. Draw the larger shapes first, then add the details.
You can achieve a simple and effective design by filling large areas with block colors.
Step 3: Color Palette Selection
Colors determine the spirit of a design. You can make your design stand out by choosing harmonious color palettes.
Use online color palette tools to determine the appropriate tones for your design.
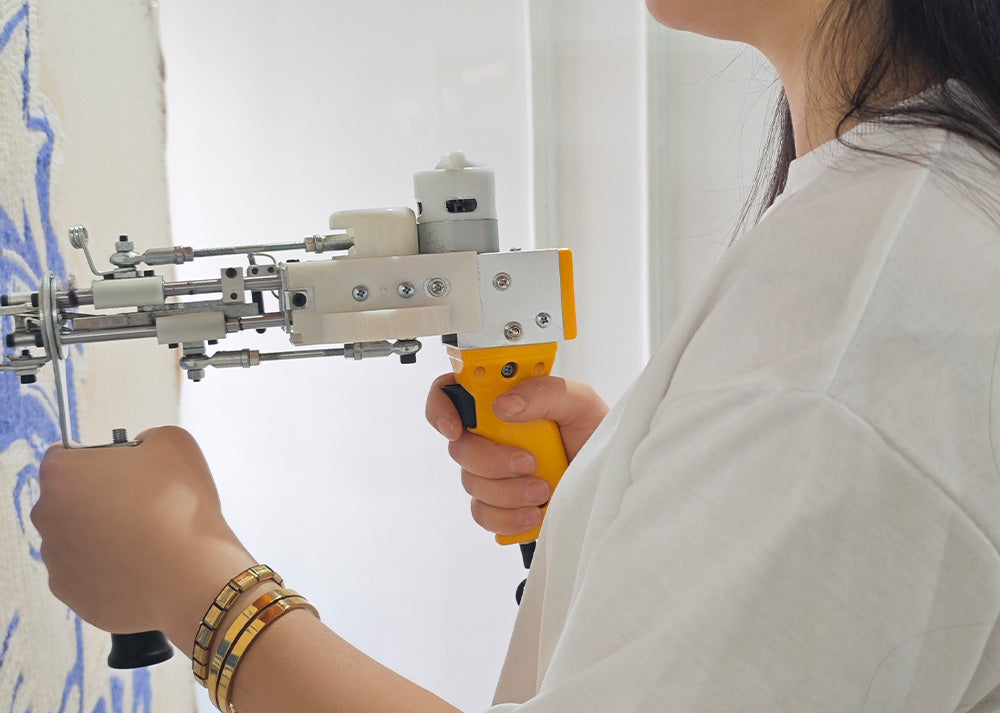
Step 4: Transferring the Design to the Fabric
Projector Use : You can prepare your pattern in a digital environment and project it onto the fabric with the help of a projector.Using Carbon or Transparent Paper : You can draw the pattern on paper and transfer it to the fabric.
Hand Drawing : If your pattern is simple, you can draw it directly on the fabric by hand.
4. Things to Consider in Patterns
Scale and Proportion : Adjust the dimensions of the design to suit the size of your project.Repeating Patterns : If you are making a pattern that covers the entire surface, you can use repeating motifs.
Use of Negative Space : Leaving empty spaces in the pattern can make the design look more spacious and modern.
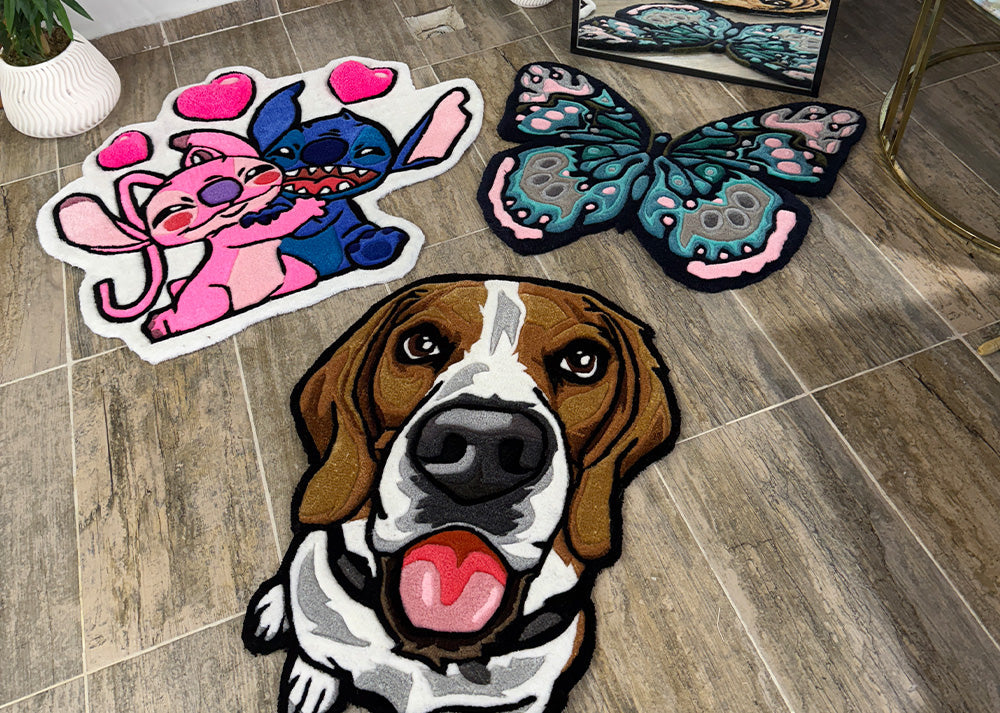
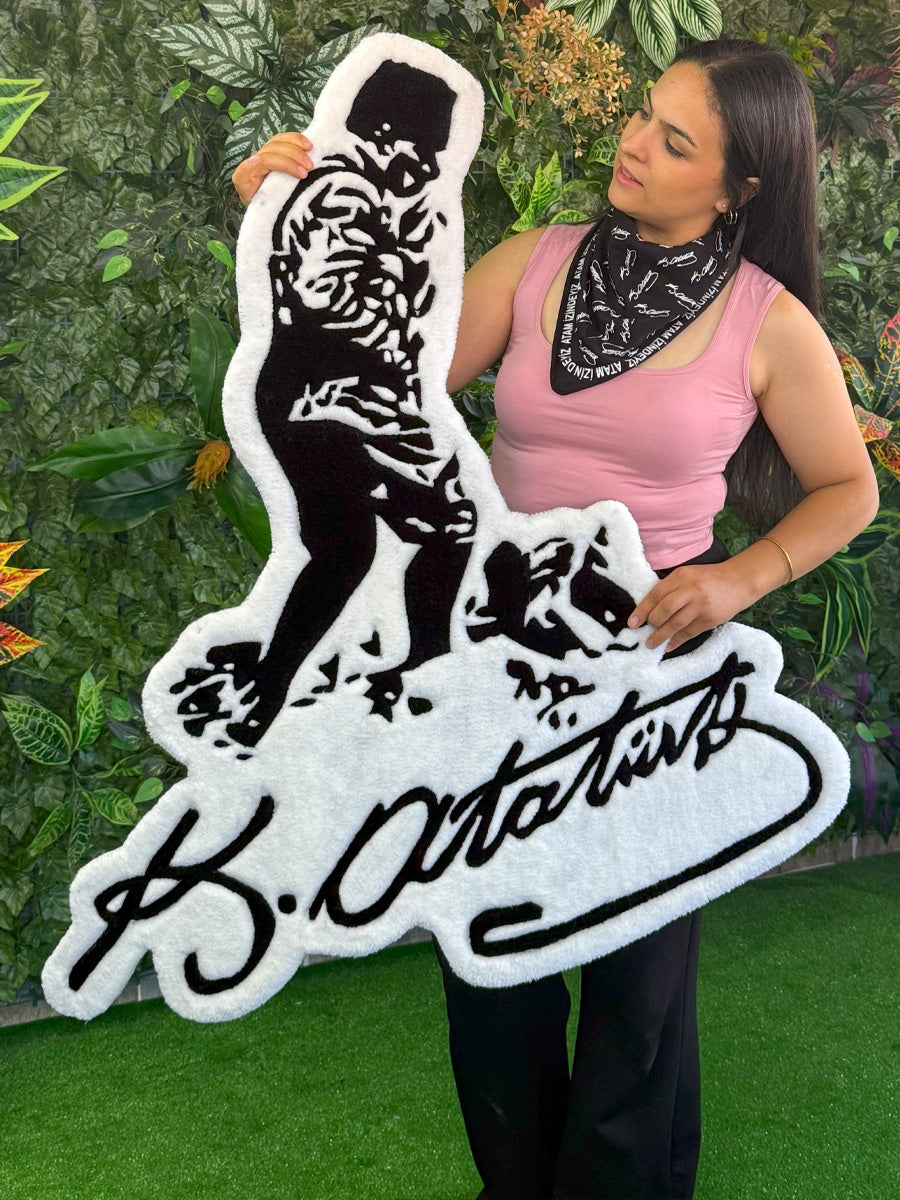
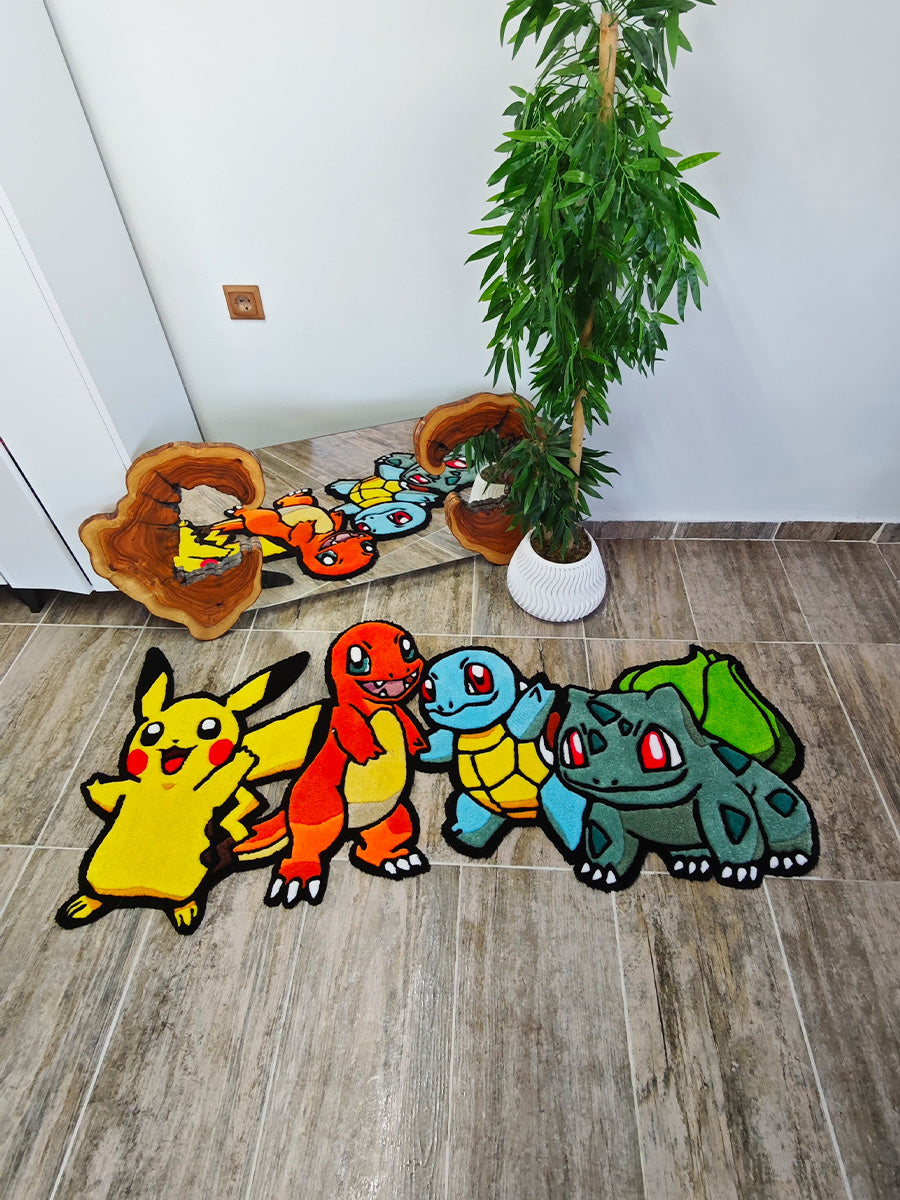
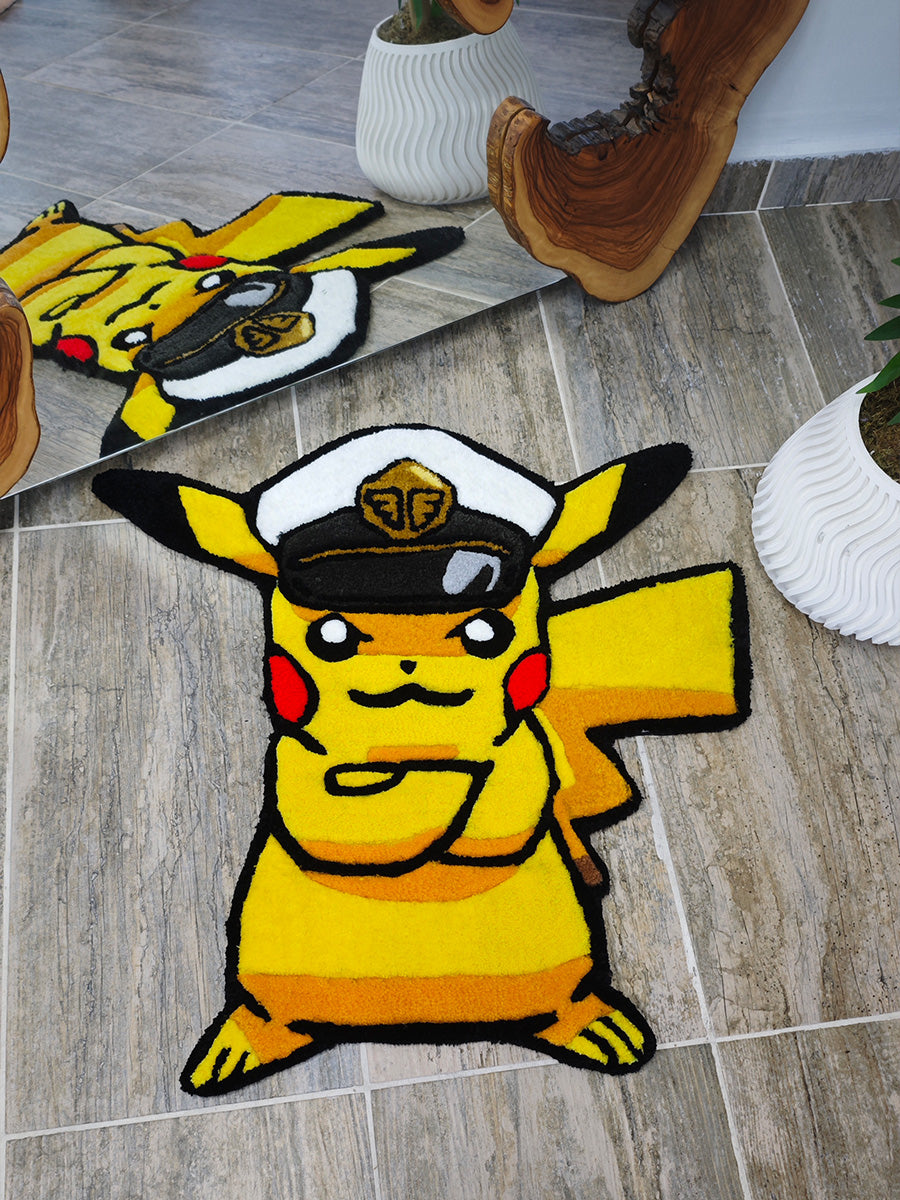
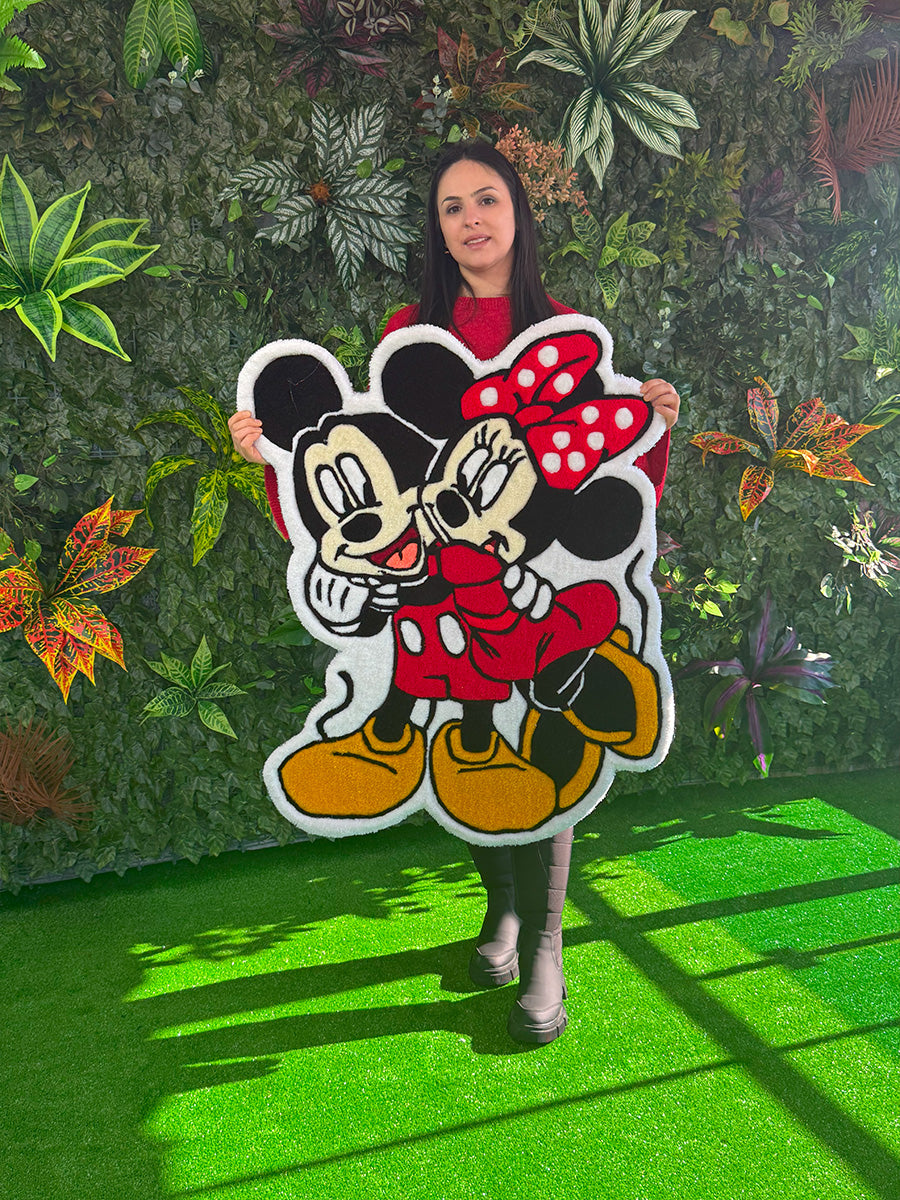
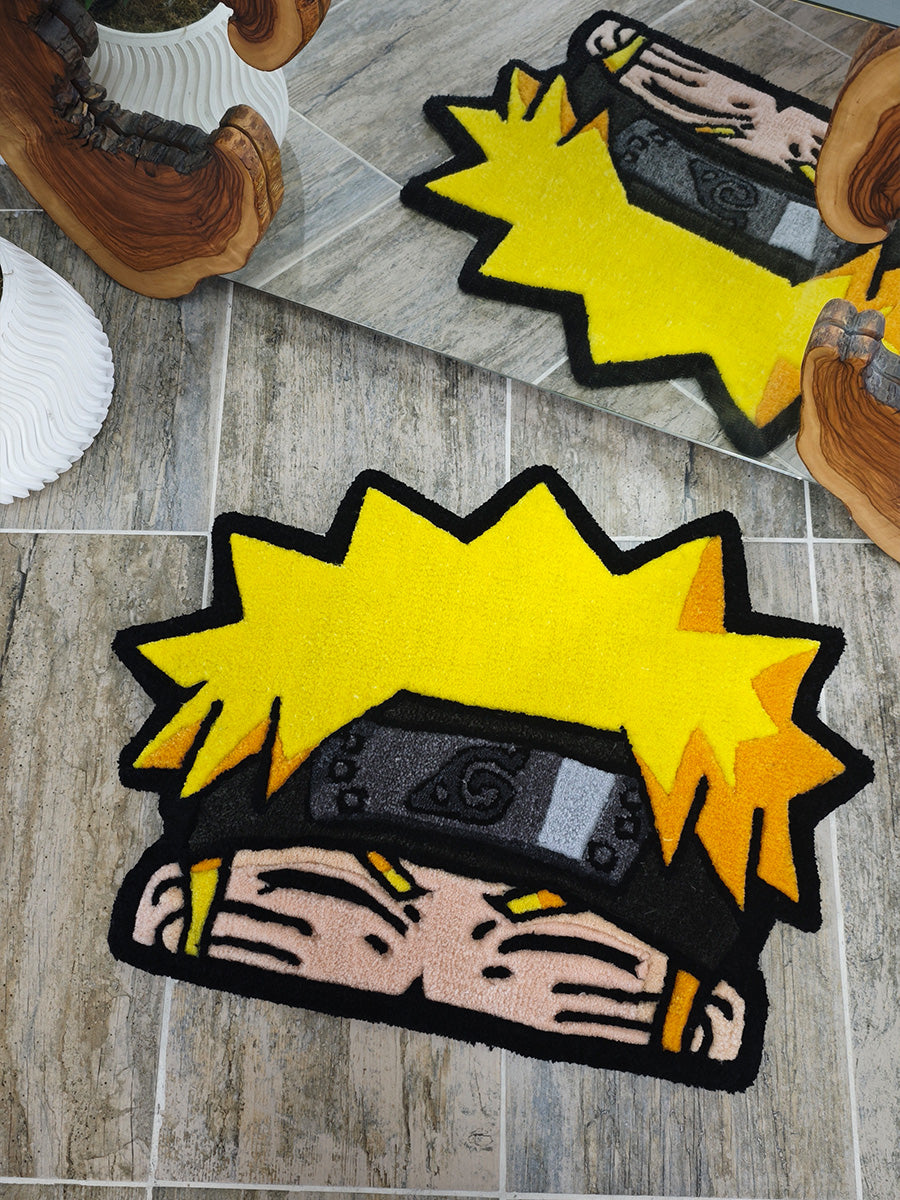
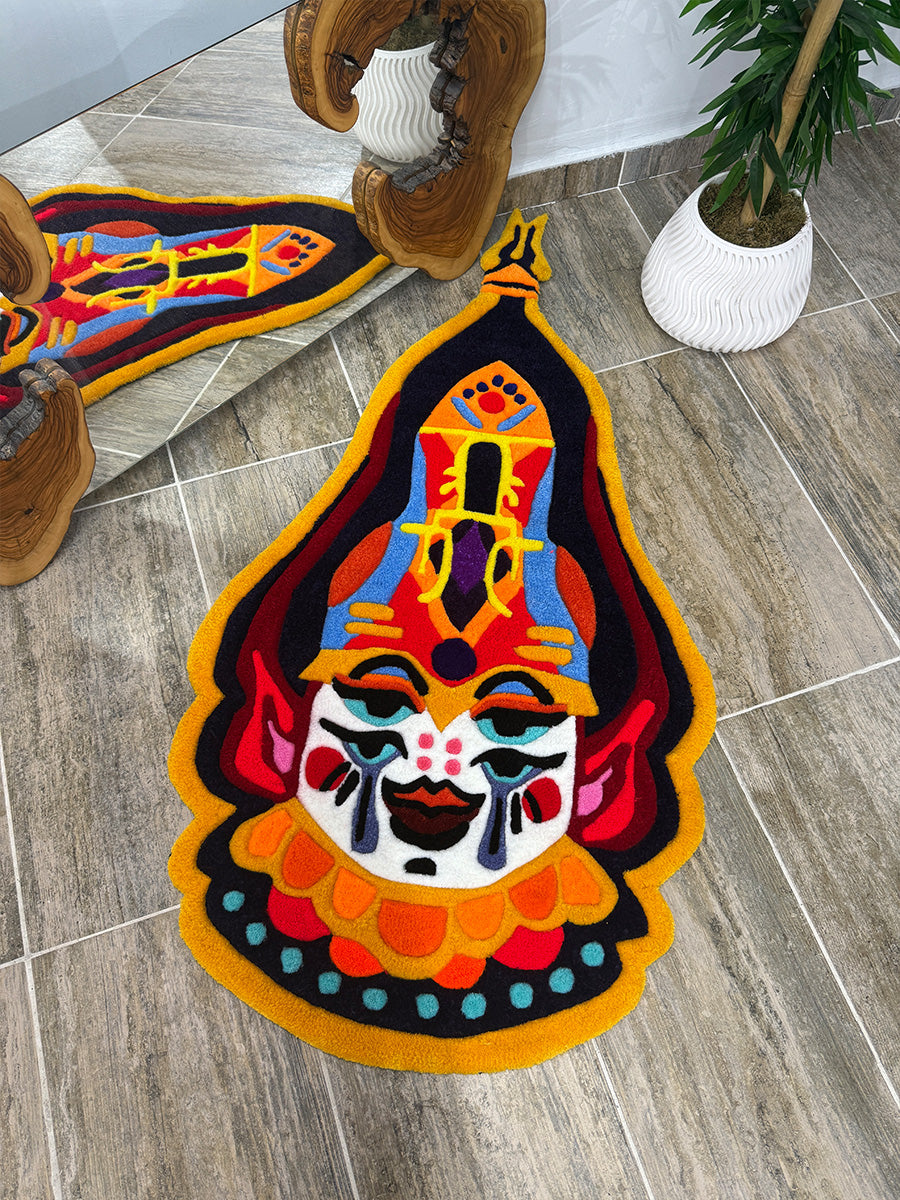
5. Tufting Pattern Suggestions
Minimalist Lines : Simple yet elegant.Boho Style Patterns : Soft transitions and organic forms.
Retro and Geometric : You can get inspiration from the patterns of the 60s and 70s.
Intricate Mandala Patterns : Attract attention in carpet projects.
6. Digital Design and Vector Drawing
For more complex patterns, you can use digital tools:
Adobe Illustrator : It makes it easy to enlarge or reduce your patterns by making vector drawings.Procreate : An excellent app for digital drawing on the iPad.
Canva : Easy to use for simple pattern designs.
7. Testing Patterns
After completing your pattern, test the result by testing it on a small piece. Observe how the threads lay on the fabric.
8. Find Your Own Style
Tufting projects are a reflection of personal creativity. By creating your own patterns, you can give your projects a unique identity. Remember, trial and error are part of the process.