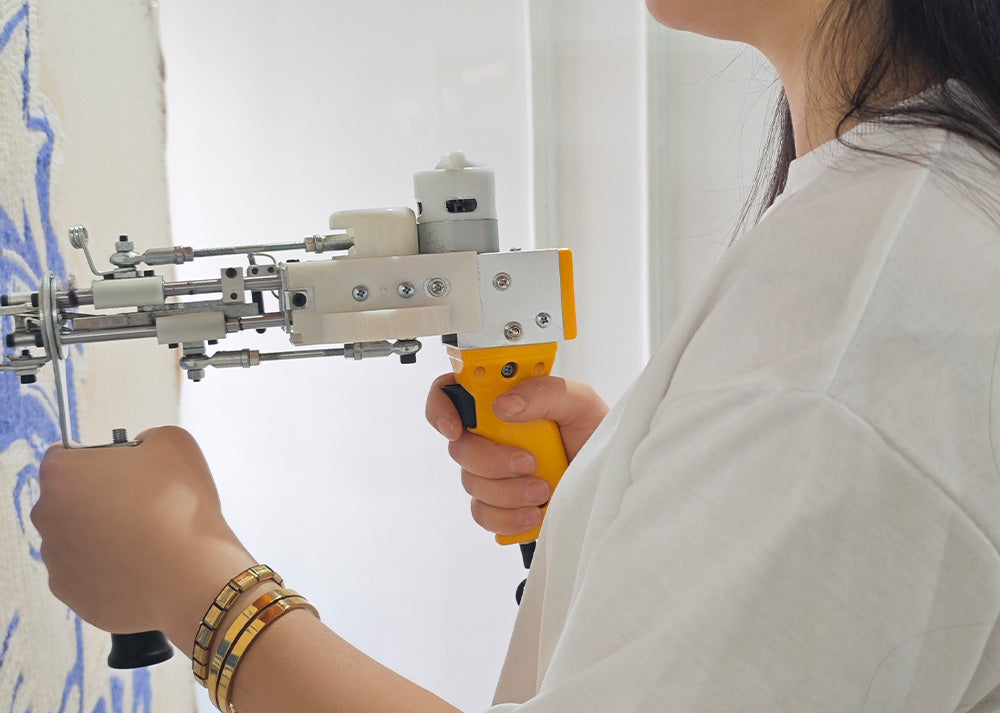
For tufting projects, correctly securing the fabric to the hoop is a critical step for a successful outcome. Insufficient fabric tension can result in uneven designs and poor thread retention. In this guide, we'll explain step-by-step how to secure your tufting fabric to the hoop.
1. Required Materials
- Tufting fabric (Monk's Cloth, polyester, or burlap)
- Wooden or metal hoop/frame
- Staple gun (manual or electric)
- Staples (10-12 mm recommended)
- Hammer (if necessary)
- Scissors
- Thread clamp tape (optional, for extra tension)
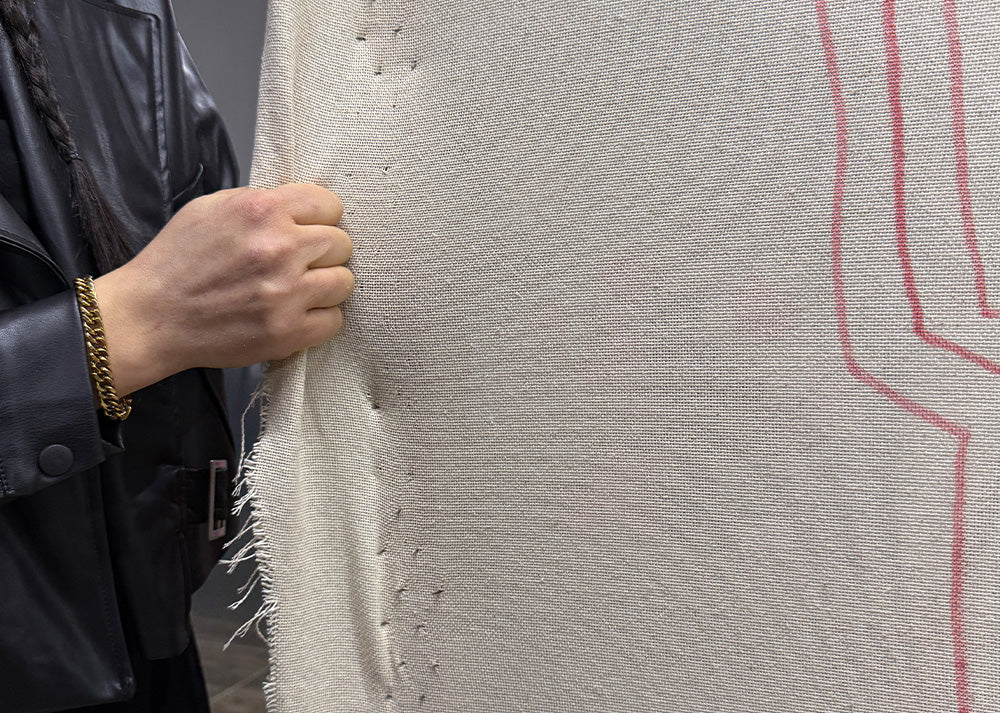
2. Preparing the Hoop and Fabric
Step 1: Place your hoop on a flat surface.
The tufting hoop can be made of wood or metal and should be appropriate for the size of your project.Step 2: Lay your tufting fabric on the hoop.
The fabric should be placed so that it extends 5-10 cm beyond the hoop on all sides. This allows the fabric to stretch more easily.3. Securing the Fabric to the Hoop
Step 3: Pin the first edge of the fabric.
- Using a staple gun, secure one edge of the fabric to the hoop. Space the staples approximately 5-7 cm apart.
- Make sure the fabric is straight and not twisted.
Step 4: Secure the fabric by stretching it from the opposite edge.
- Tighten the fabric and pin it to the opposite side of the hoop. It's very important that the fabric is flat and taut.
- Space the staples evenly.
Step 5: Secure the other two edges in the same way.
Staple the fabric, stretching it each time. Make sure all edges are equally taut.4. Fixing the Corners
Step 6: Fold the corners to secure.
Fold the fabric corners neatly and secure them to the hoop. Trim or staple any excess fabric to the corners.
Step 7: Increase the tension.
To ensure the fabric is securely fastened to the hoop, you can gently tap the staples with a hammer. This will help the staples set deeper.5. Control and Correction
Step 8: Check the tension of the fabric.
The fabric should be taut enough to make a hollow sound against the hoop. If the tension is not sufficient, remove the staples and re-tension the fabric.
Step 9: Trim off excess fabric.
Once the tufting is complete, you can complete your project by trimming the excess fabric behind the hoop.6. Extra Tips
Make the Fabric Non-Slip: You can prevent the fabric from slipping by adding thread-holding tape to the edges of the hoop.Second Layer: You can provide extra durability by adding a thin cotton cloth under the fabric.
Hoop Selection: For larger projects, choose more durable and thicker hoops.
When tufting projects, correctly securing the fabric to the hoop improves the quality and ease of work. With the correct tension and securing techniques, you can achieve a flawless tufting experience. By carefully following these steps, you can achieve the best results in your projects.