With the rise of personalized products, creating corporate logos or custom text rugs has become one of the most in-demand areas in tufting. However, what makes a logo look professional is not just color accuracy, but the sharpness of the lines and the readability of the text.
With GG Tufting expertise, we are sharing professional methods to achieve "razor-sharp" lines and legible text on your rugs.
Preparation: Reflecting the Design Correctly
The most fundamental mistake when working with text and logos happens during the projection phase. Since you are tufting from the back of the fabric, you MUST mirror (flip horizontally) the design so that the logo appears correctly when viewed from the front.
- Vector Drawings: Use vector files to prevent pixelation. Clear boundaries mean clear rugs.
- Detail Analysis: Very small text (under 1 cm / 0.4 inches) cannot be processed clearly with a tufting gun. Ensure letters are at least 2-3 cm (approx. 1 inch) thick.
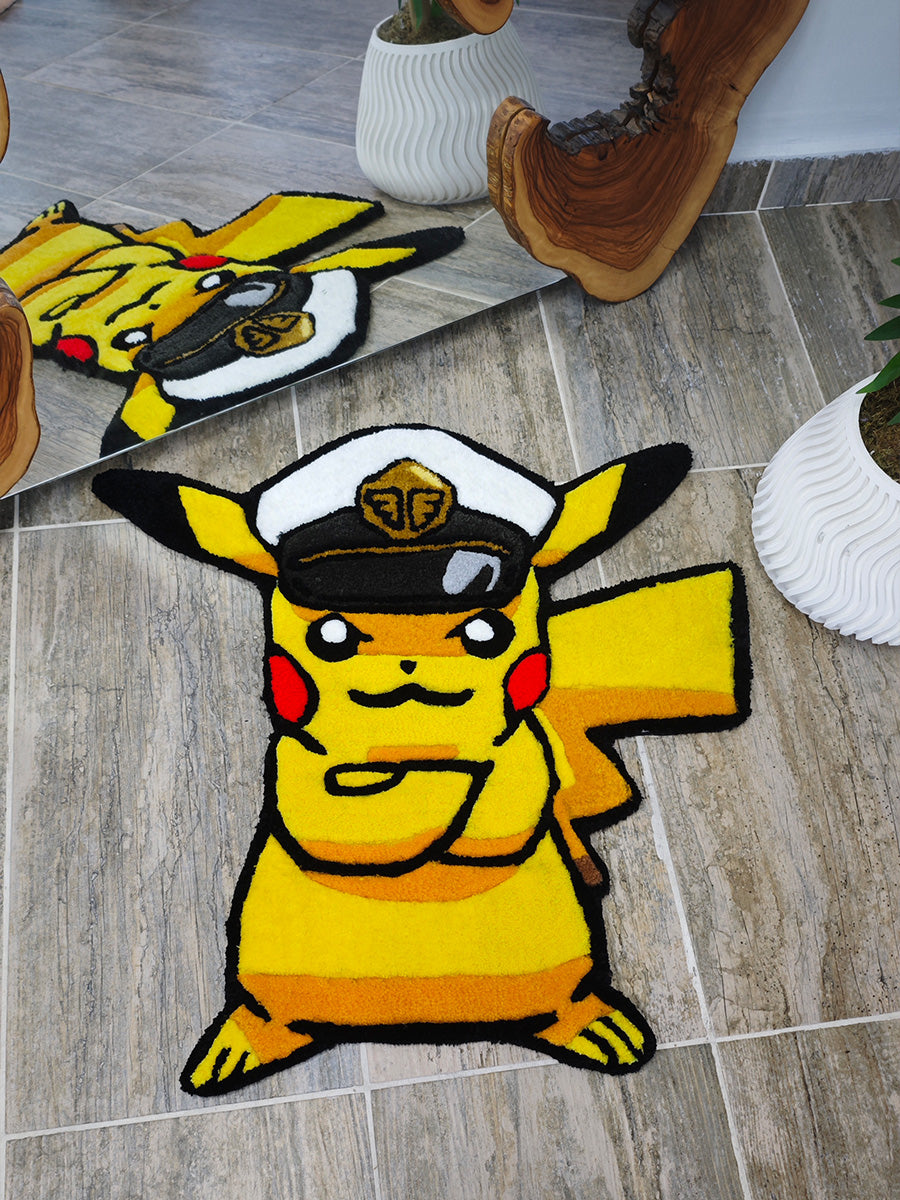
Technique: Outlining & Density
Think of it like coloring a coloring book; first, you draw the borders, then you fill them in. The same rule applies to tufting.
- Tight Stitching (High Density): When going over the outer borders (contours) of the logo, slow down your hand speed and increase the stitch density. This creates a physical wall that prevents colors from mixing.
- Thin Lines: If you are tufting a very fine line, run the gun in a single row. For thicker lines, place two or three rows next to each other.
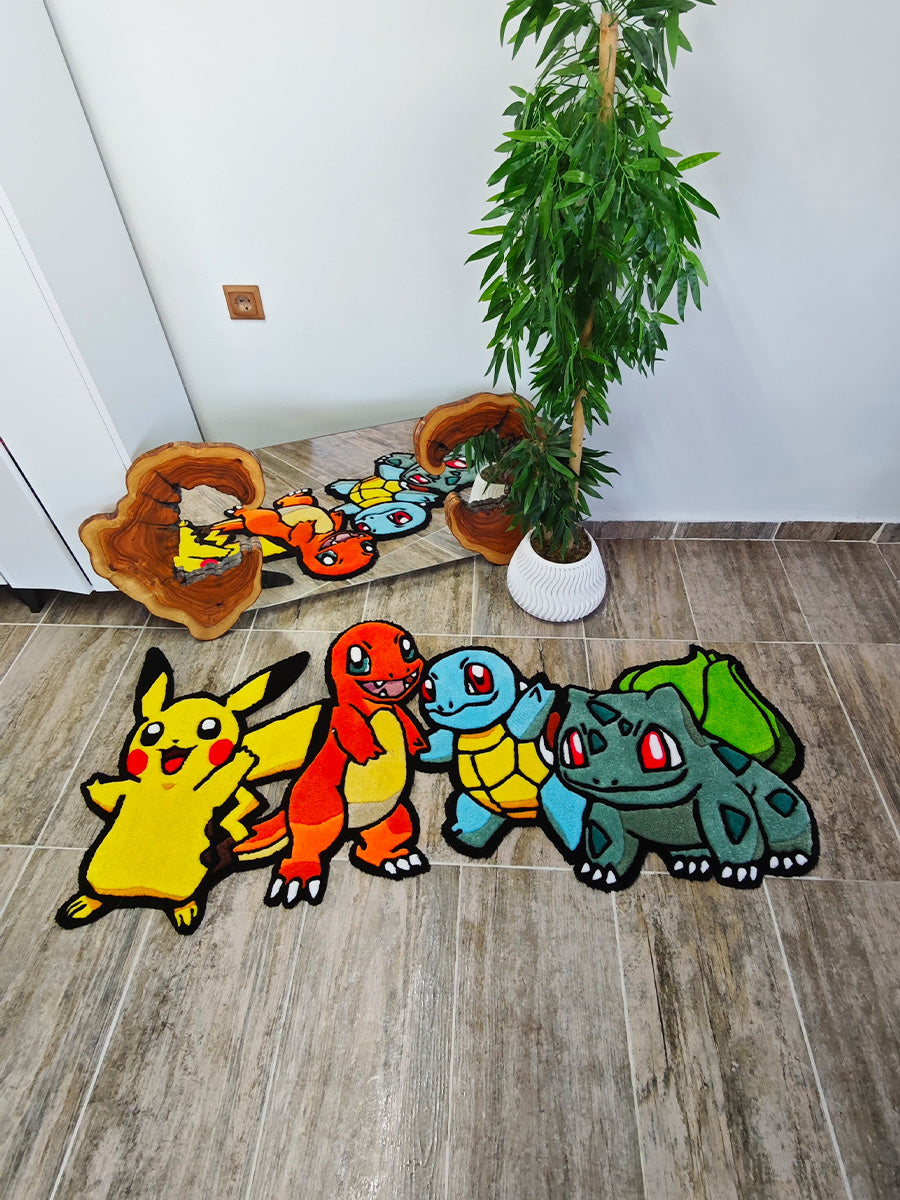
Managing Color Transitions
Preventing colors from bleeding into each other is key to professionalism. Between two different color groups, you must leave a small gap when viewing from the back of the fabric.
*This gap will close naturally when the rug is removed from the frame and the yarn expands (the "blooming" effect), preventing lines from merging.
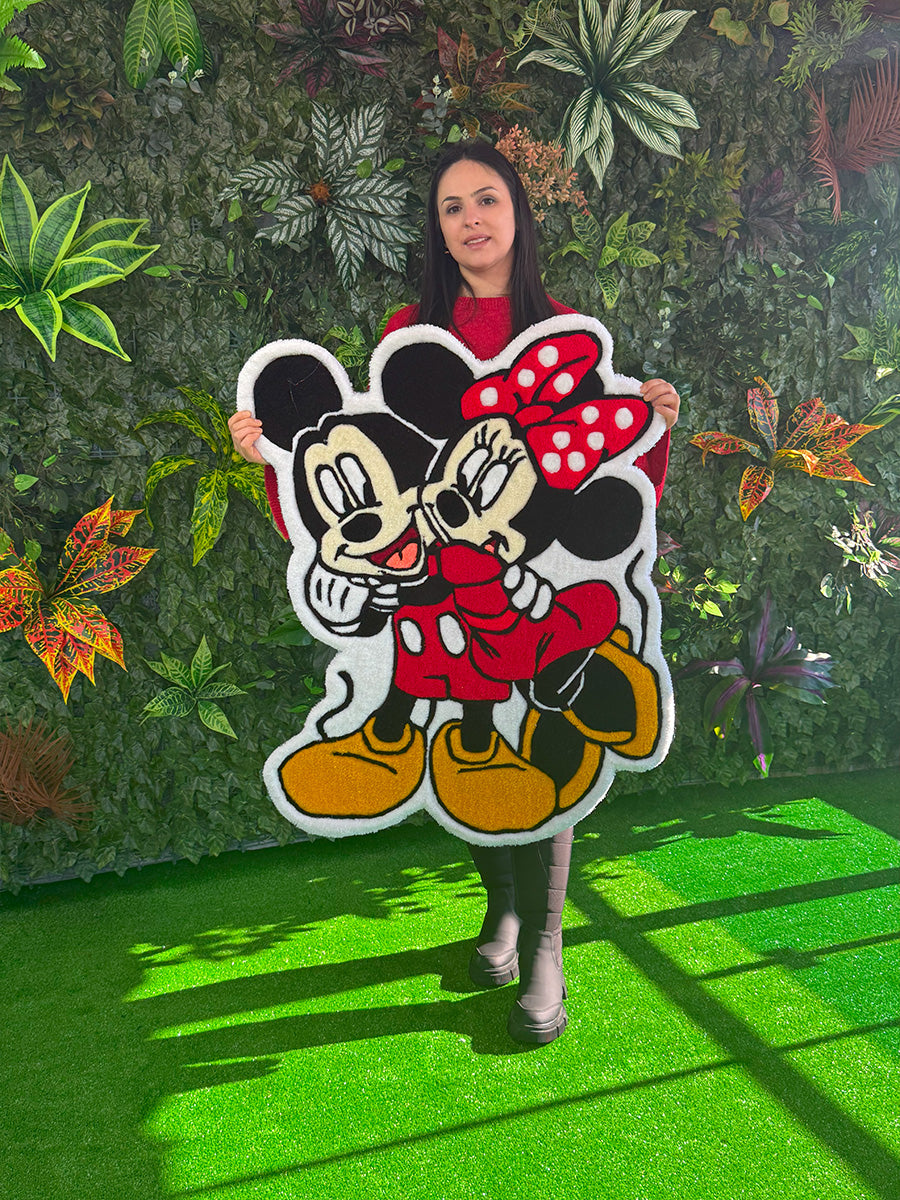
The Professional Touch: Carving
The stage that makes the real difference in logo making is carving. Sharp lines are not created on the loom, but at the tip of the trimmers.
Troubleshooting Table
| Problem Encountered | Quick Fix |
|---|---|
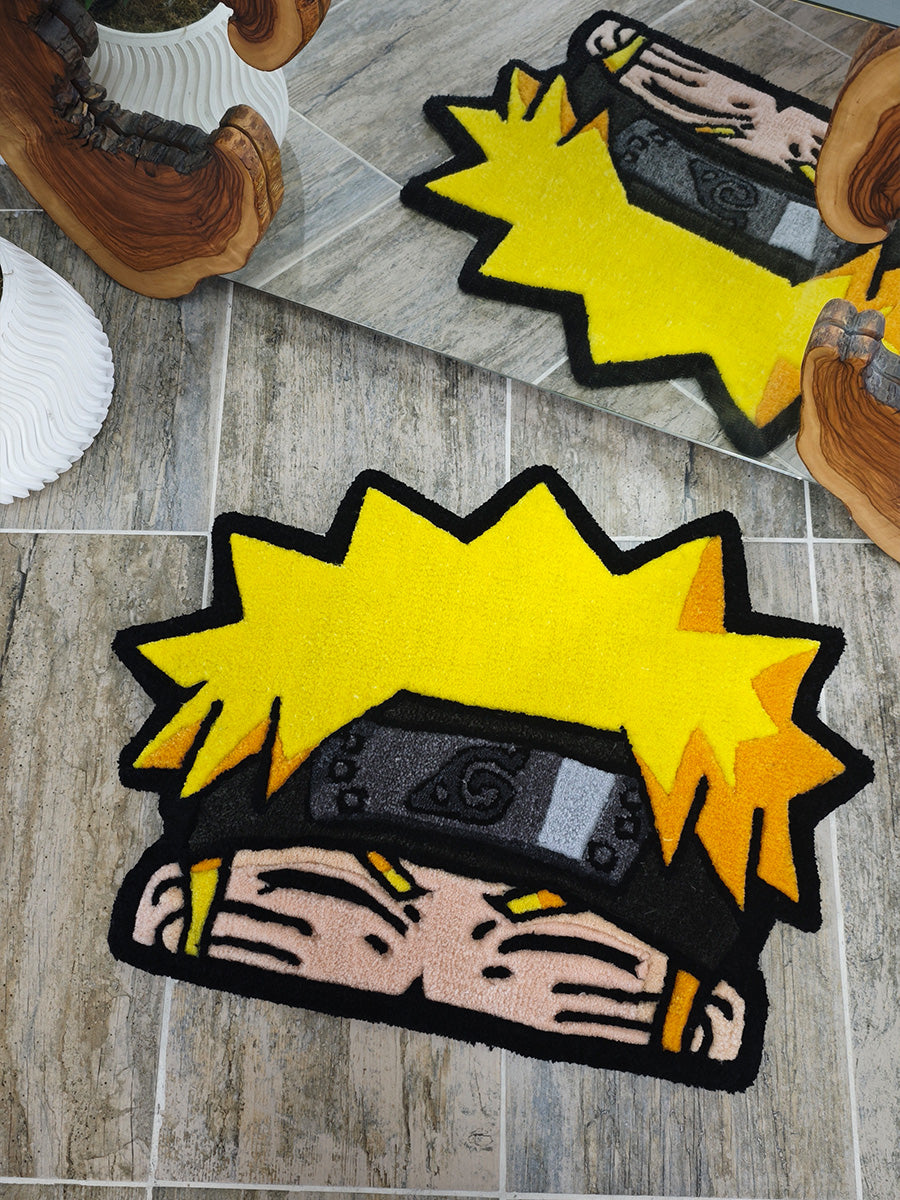
| Text is Unreadable | Shorten the pile height and use scissors to thoroughly open up the spaces between letters (V-Cut). |
| Lines are Crooked | Press the gun harder against the fabric. Check fabric tension; you cannot draw straight lines on loose fabric. |
| Colors are Bleeding | You didn't leave enough gap between the two colors on the back. Separate the colors by carving/trimming. |
Logo and text work requires patience. Reflect your brand in the best way possible with GG Tufting's specially produced tight-weave fabrics and vibrant yarns.