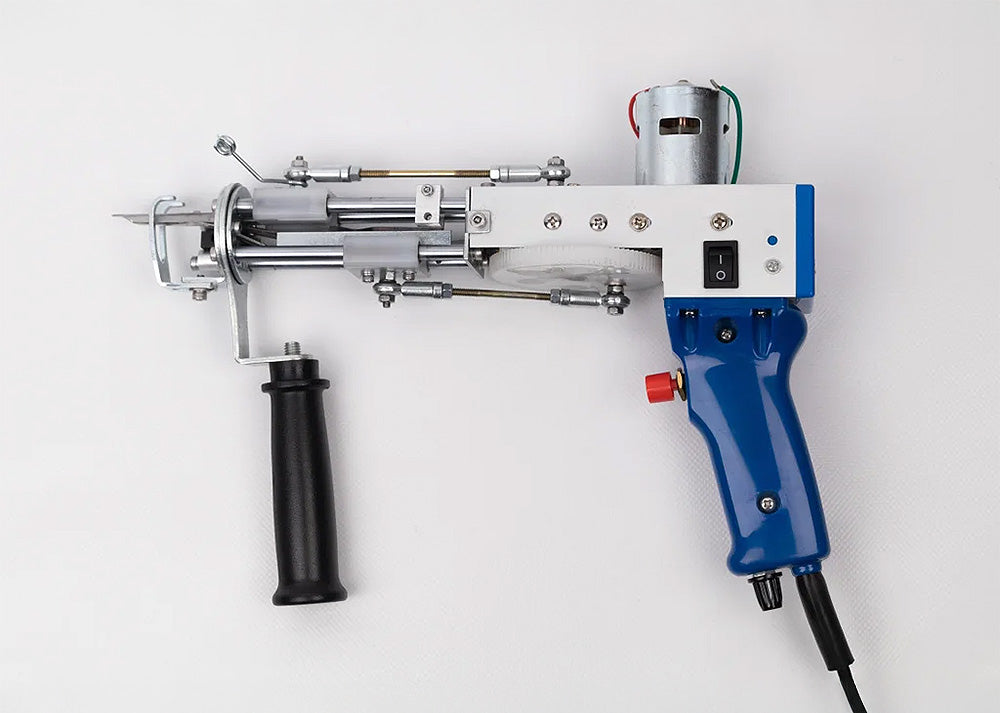
The tufting gun is one of the most critical tools in the art of tufting, enabling you to bring your creative projects to life. However, using this tool correctly is crucial for both efficiency and safety. In this guide, we'll walk you through the process of selecting and using a tufting gun.
1. Choosing a Tufting Gun
Choosing a tufting gun is a critical step in determining the quality and ease of your project. Here are some factors to consider:
a) Types of Guns:
Cut Pile Tufting Gun : Gives the carpet a plush texture by cutting the yarn. Creates a fluffier and softer surface.
Loop Pile Tufting Gun : Leaves the yarn in a loop shape without cutting it. Provides a more durable and hard surface.
Combination Guns : These models offer both cut pleat and loop pleat functions. They are ideal for more flexible projects.
b) Power Source:
Electric : More powerful and faster, ideal for large projects.
Manual : Sufficient for small projects, quiet and portable.
c) Weight and Ergonomics:
The weight of a tufting gun affects fatigue during prolonged use. Lightweight and ergonomic designs are preferred.
2. Required Materials
Before you begin using the tufting gun, prepare the following materials:
Tufting Fabric (Primary Fabric) : A type of perforated and flexible fabric.Hoop or Frame : Keeps the fabric taut.
Yarn : Wool, cotton or acrylic yarn suitable for the project.
Tufting Gun
Scissors
Adhesive (Latex or carpet glue)
Protective Glasses and Gloves (Optional)
3. Using a Tufting Gun Step by Step
Step 1: Stretching the Fabric
Using the hoop or frame, stretch your tufting fabric tightly. Fabric tension is critical for a smooth finish.
Step 2: Transferring the Pattern to the Fabric
Trace your pattern template onto the back of the fabric. A clear pattern makes the process easier.
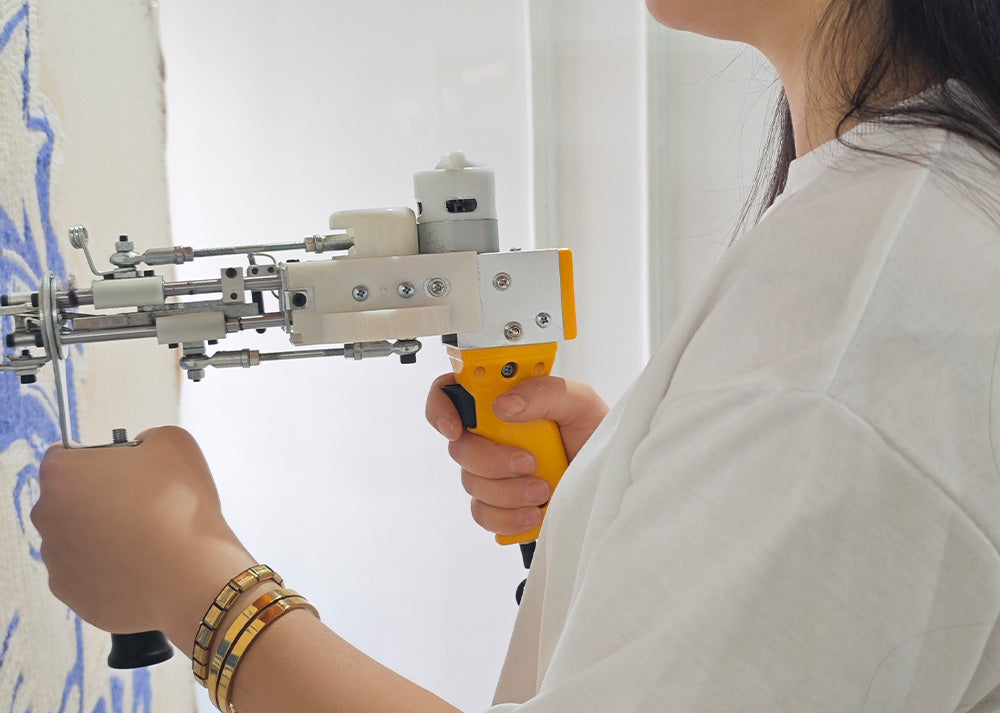
Step 3: Threading the Gun
Thread the thread through the thread guide system on the top of the tufting gun. Position the thread as instructed in the gun's manual.
Step 4: Begin the Tufting Process
- Hold the gun perpendicular to the fabric.
- Gently pull the trigger and slowly push the gun forward.
- Move the gun at a steady, even speed. This will create loops or cuts on the back of the fabric.
Step 5: Fill in the Blanks
Once you've completed the pattern, fill in the remaining spaces. You can enrich your patterns with different colors or types of yarn.
Step 6: Securing the Back
Once the tufting is complete, coat the back with glue or latex. This will help secure the threads and extend the life of the carpet.
4. Tufting Gun Usage Tips
Be slow and careful : Be patient with your first attempts. Pushing the gun too quickly into the fabric can result in uneven stitches.Check the Fabric : Make sure the fabric is not loose. Consistent tension ensures a smooth finish.
Safety Precautions : The tufting gun may have sharp edges. Be sure to wear protective gloves and eye protection when using it.
5. Troubleshooting
Gun Jams : The thread may be jammed. Turn off the gun and check the thread.Uneven Threads : Check if the fabric is taut enough and move the gun at a constant speed.
Gaps Remain : If the yarn is not dense enough, fill in the gaps by going over a second layer.
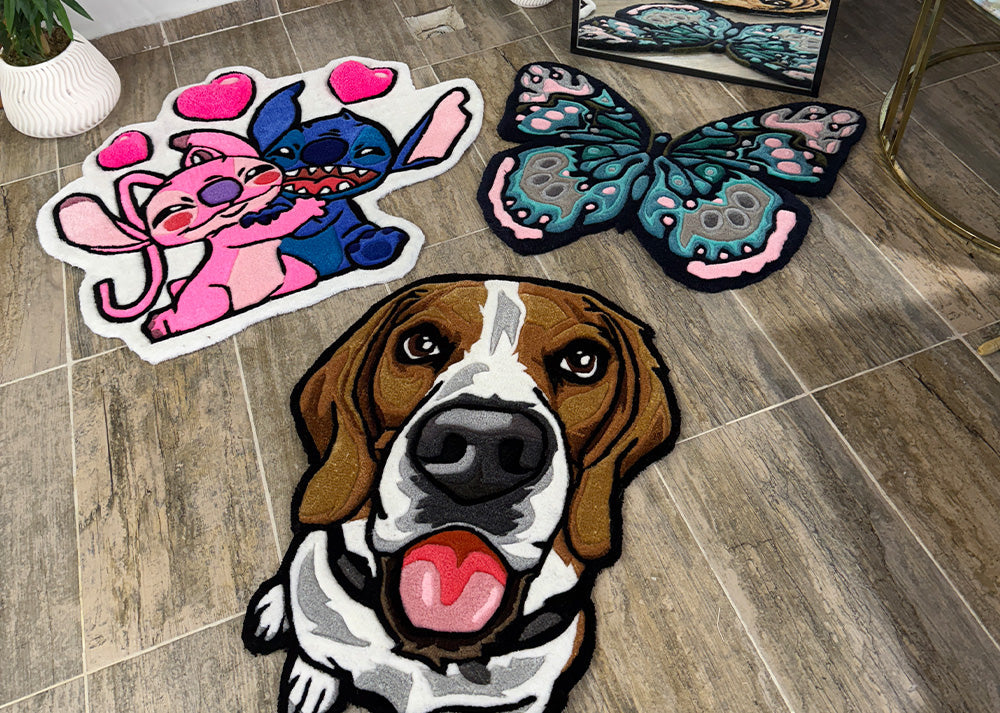
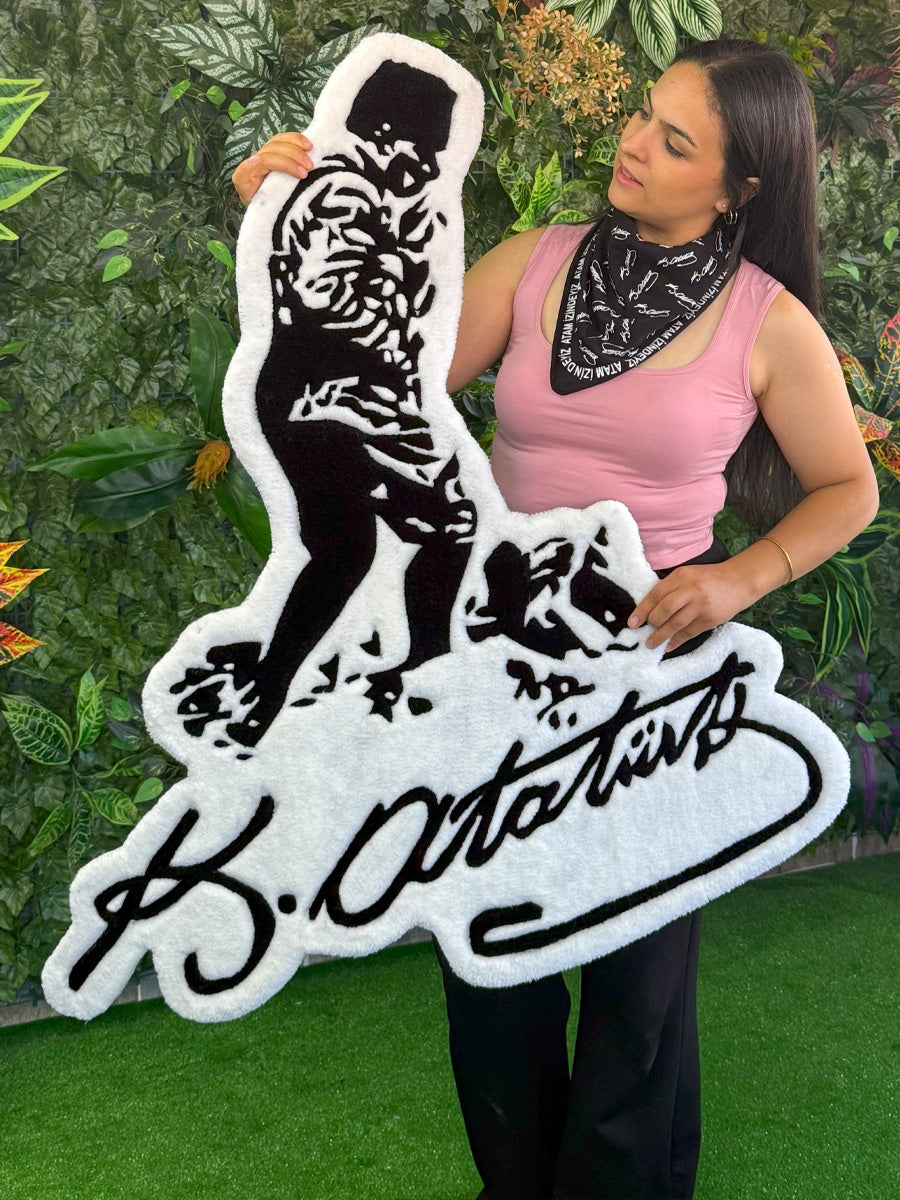
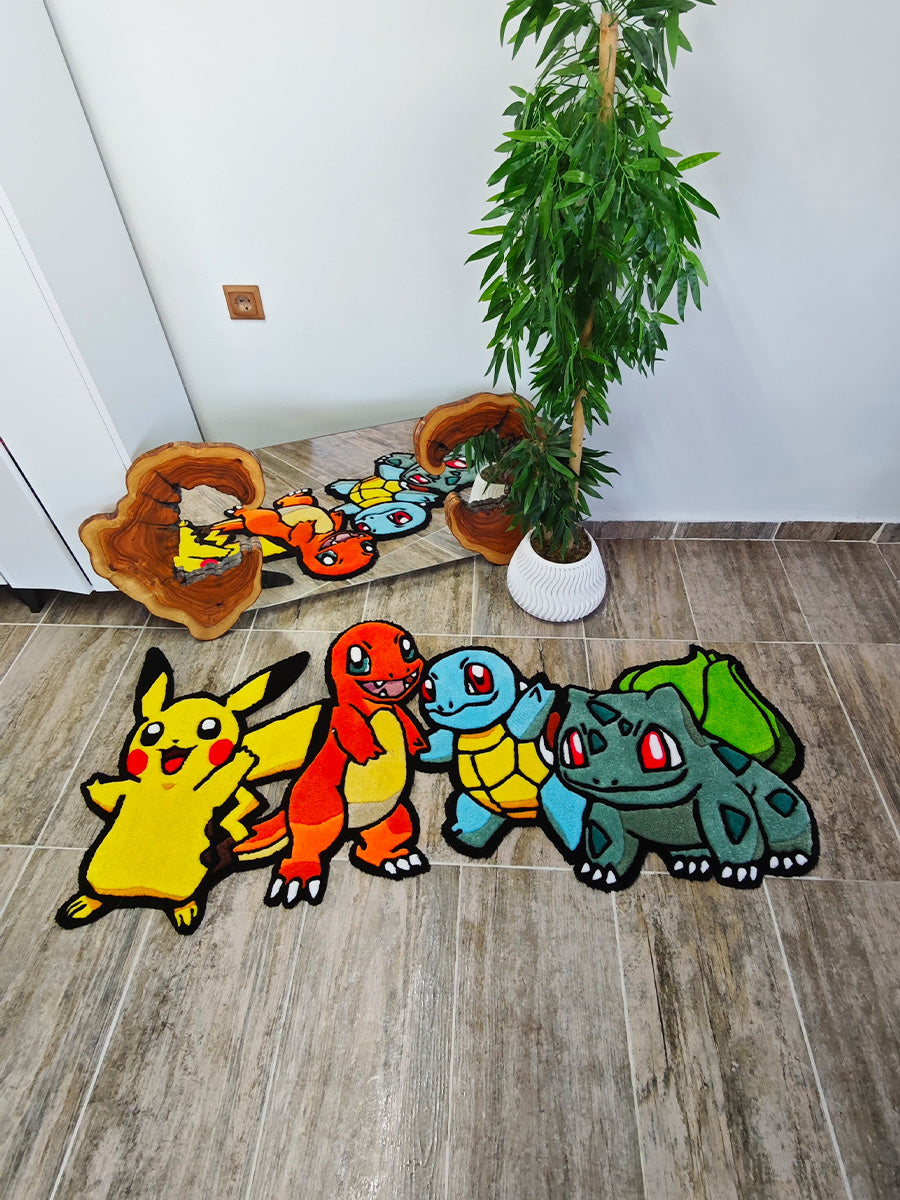
Using a tufting gun becomes easier and more fun with practice. Be patient with your first projects and don't be afraid to get creative. By creating your own designs, you can create rugs, pillows, and wall hangings that are both artistic and functional.