Tufting is a fantastic way to unleash your creativity, but for beginners, the technical details can sometimes be overwhelming. Overlooking small details during the rug-making process can lead to disappointing results.
In this post, drawing from GG Tufting workshop experiences, we cover the 7 most common mistakes and how you can professionally fix them.
1. Lack of Fabric Tension
If the tufting cloth is loose on the frame, the needle pushes the fabric instead of piercing it. This causes tearing and shifting patterns.
Stretch the fabric "drum tight." It should make a solid sound when you flick it. If it loosens while working, stop and retighten immediately.
2. Wrong Yarn Selection
Using very thin, weak, or splitting yarn. The gun cannot feed this type of yarn properly and will constantly snap it.
Use acrylic or wool yarn specifically made for tufting (usually 3 or 4-ply). The yarn must flow from the cone to the gun with "zero resistance."
3. Improper Gun Handling & Pressure
The most critical rule in tufting: The gun shouldn't fight the fabric; it should merge with it.
- Holding the gun away from the fabric.
- Moving in random directions instead of bottom-up.
- Push the metal foot hard into the fabric.
- Always move in the direction the needle opening faces (usually up).
4. Not Gluing Properly (Yarn Pull-out)
Think your rug is done, but the yarn pulls out when you tug from the front? The issue is the glue.
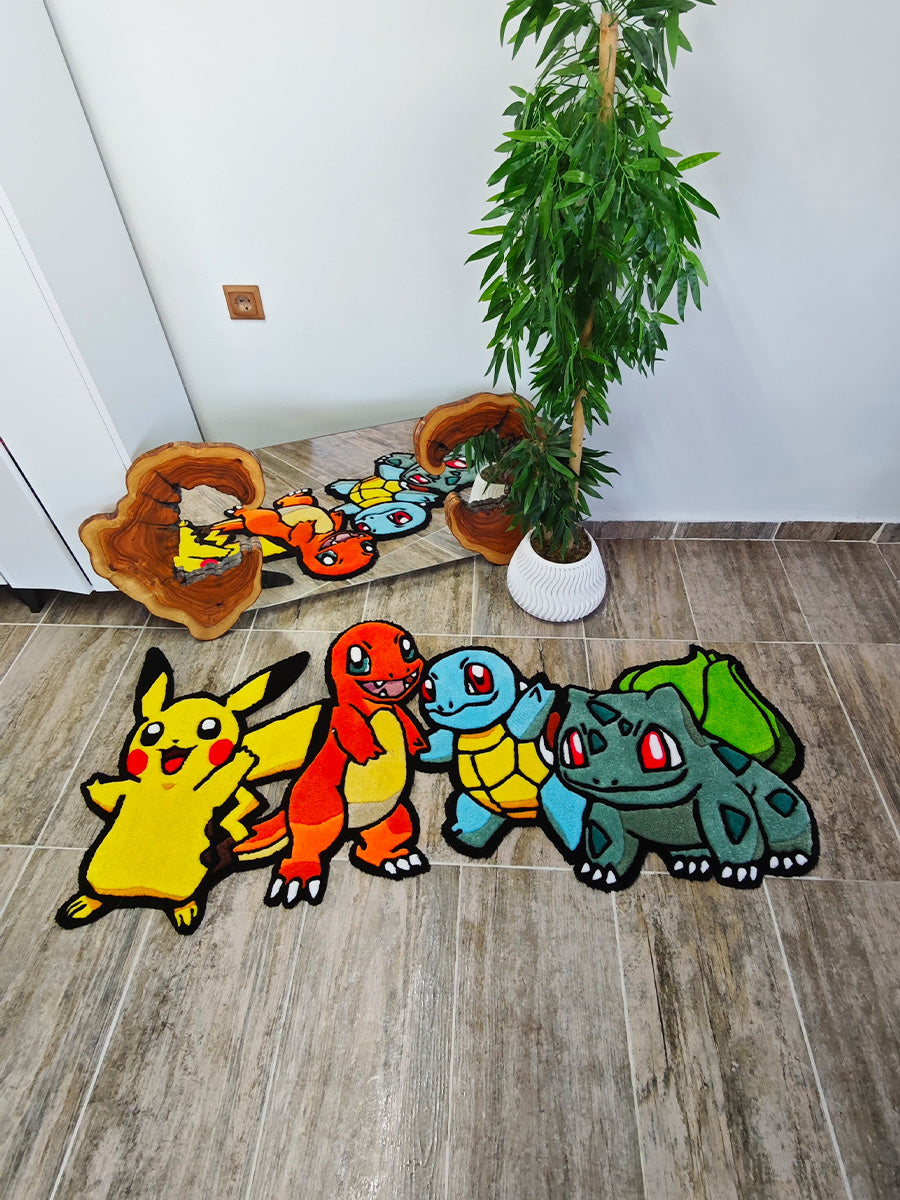
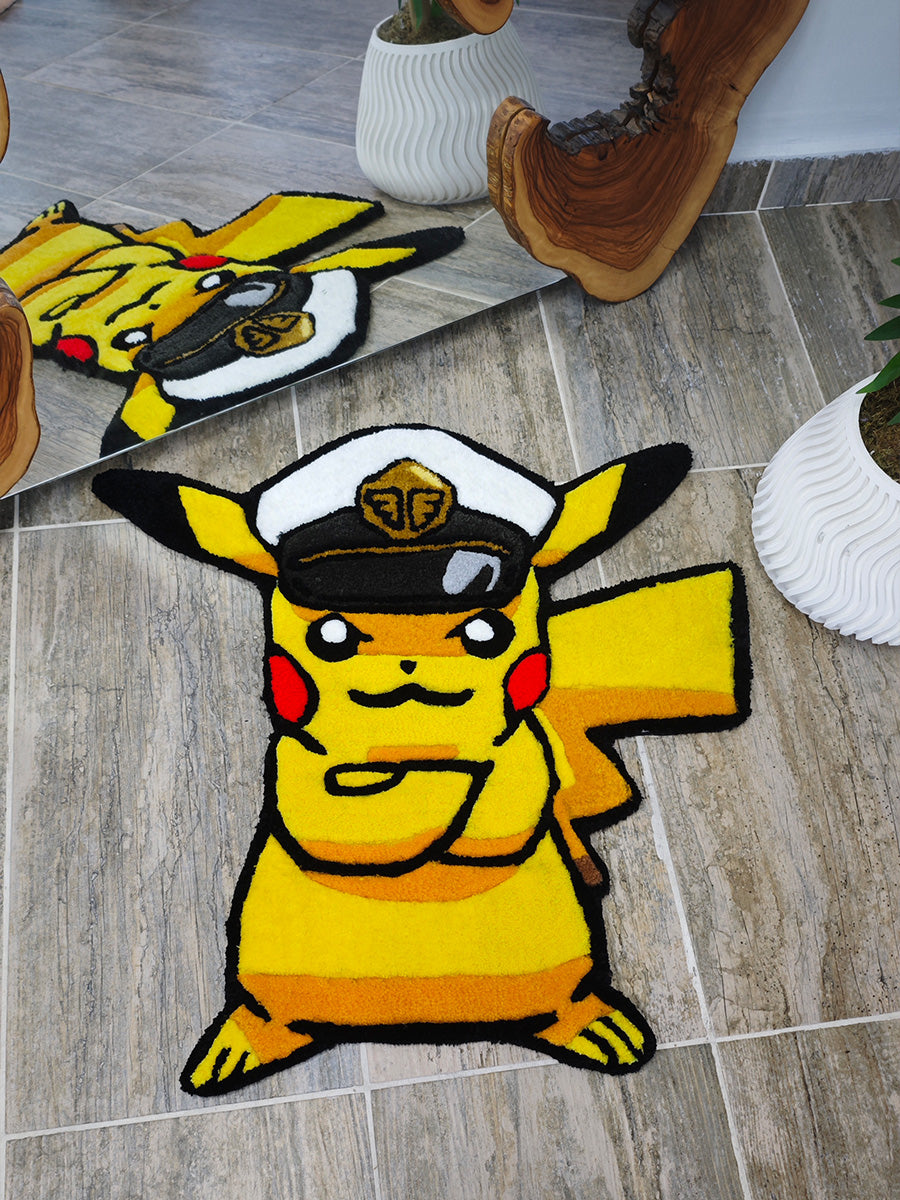
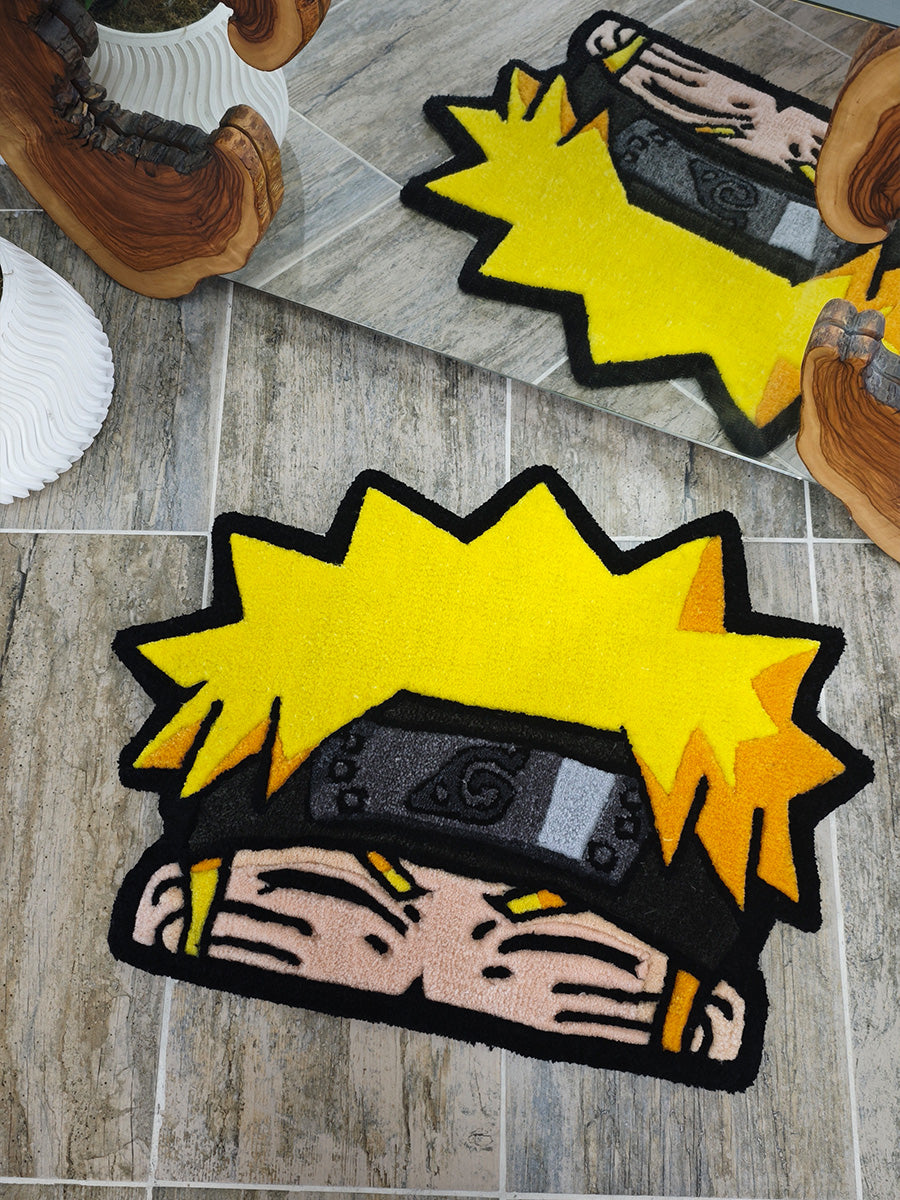
5. Forgetting to Mirror the Design
Tufting is done from the back of the rug. Therefore, for the design to look correct on the front, you must flip your image horizontally.
*Skipping this step is the biggest mistake, especially for text-based designs.
6. Line Spacing (Density) Issues
Overlapping lines makes the rug hard and deformed. Too much space between lines creates a balding look.
Leave tiny gaps (millimeters) between lines. The yarn will bloom on the front side and naturally fill those gaps.
7. Insufficient Backing Material
Applying glue and leaving it is not enough; it shortens the rug's life and causes it to slip.
- Solution: Always apply a second layer like "Action Back" (mesh) or thick felt over the glue.
- Edges: Use binding tape (twill tape) to secure and protect the borders of the rug.
🚀 Bonus Tips for Success
- Regular Maintenance: Clean and oil your gun after every project.
- Start Small: Don't start with a giant rug. Practice by making coasters first.
- Get Inspired: Don't be afraid to try different techniques; add dimension with carving shears.
Mistakes are just part of the learning process.