If you want to create a unique and personal touch in your tufting projects, designing your own patterns is a great starting point. Moving beyond ready-made templates gives your rugs a completely authentic identity.
In this article, we examine the professional pattern preparation process at GG Tufting standards, from inspiration to digital drawing, color palette creation, and transferring designs to fabric.
1. Inspiration Sources & Gathering Ideas
Every great design starts with a spark. Professional designers take inspiration not from one place, but from textures around them.
2. The Power of Digital Design
Pen and paper is always a classic, but for advanced tufting, digital drawing minimizes errors and makes color testing easier.
| Software/App | Use Case | Advantage |
|---|---|---|
| Procreate (iPad) | Hand Drawing & Painting | The most popular tool. Perfect for organic drawings with brush support. |
| Adobe Illustrator | Vector Drawing | Never pixelates (distorts) when enlarged via projection. |
| Canva | Collage & Layout | Creating patterns with ready-made components without drawing skills. |
| Vector Q (Mobile) | Photo to Vector | Converts complex photos into simplified lines for tufting. |
3. Color Palette and Yarn Selection
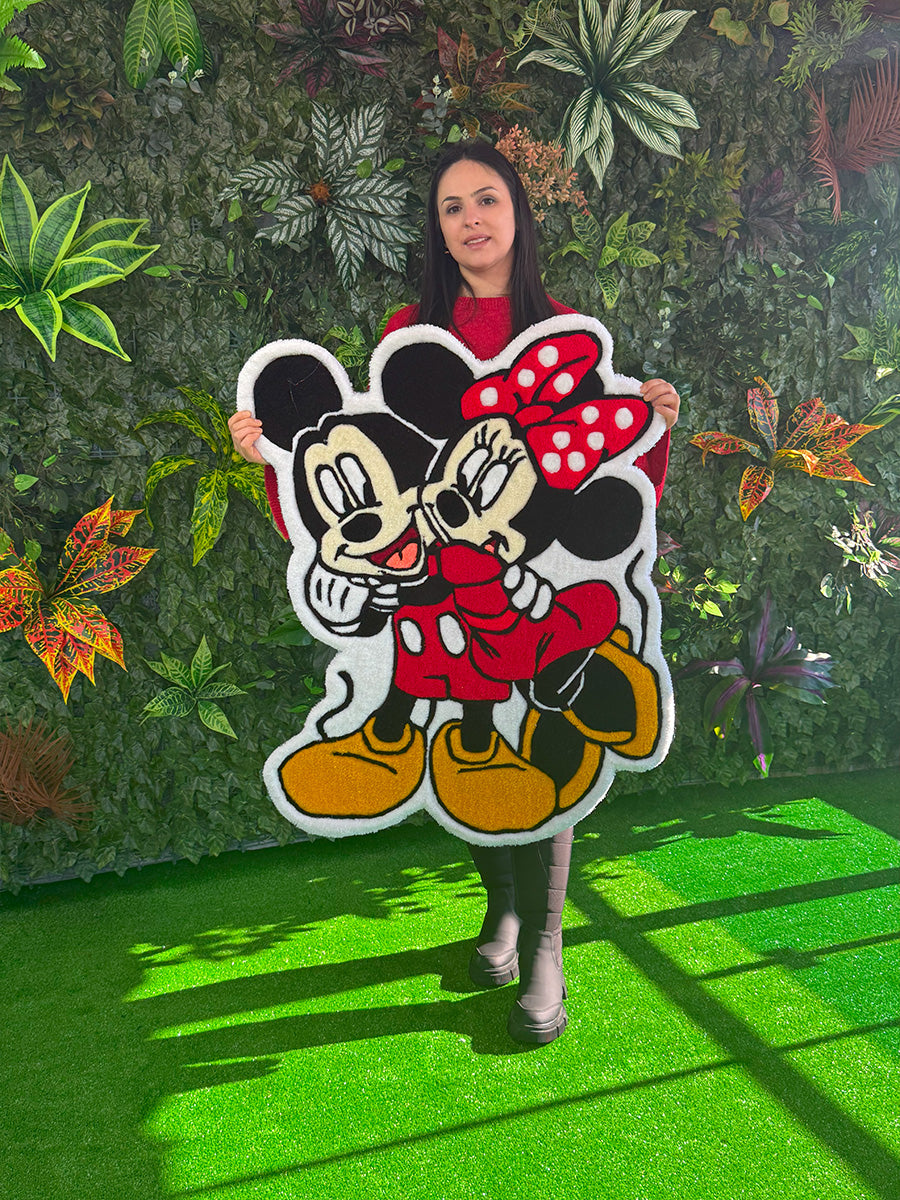
Colors define the soul of the design. The color you see on the screen may not always match the yarn color perfectly. Therefore, start by determining a maximum of 4-6 main colors during the design phase.
Distributing colors in your design in a balanced way prevents eye fatigue. For example: 50% Main Color, 30% Secondary Color, 20% Accent Color.
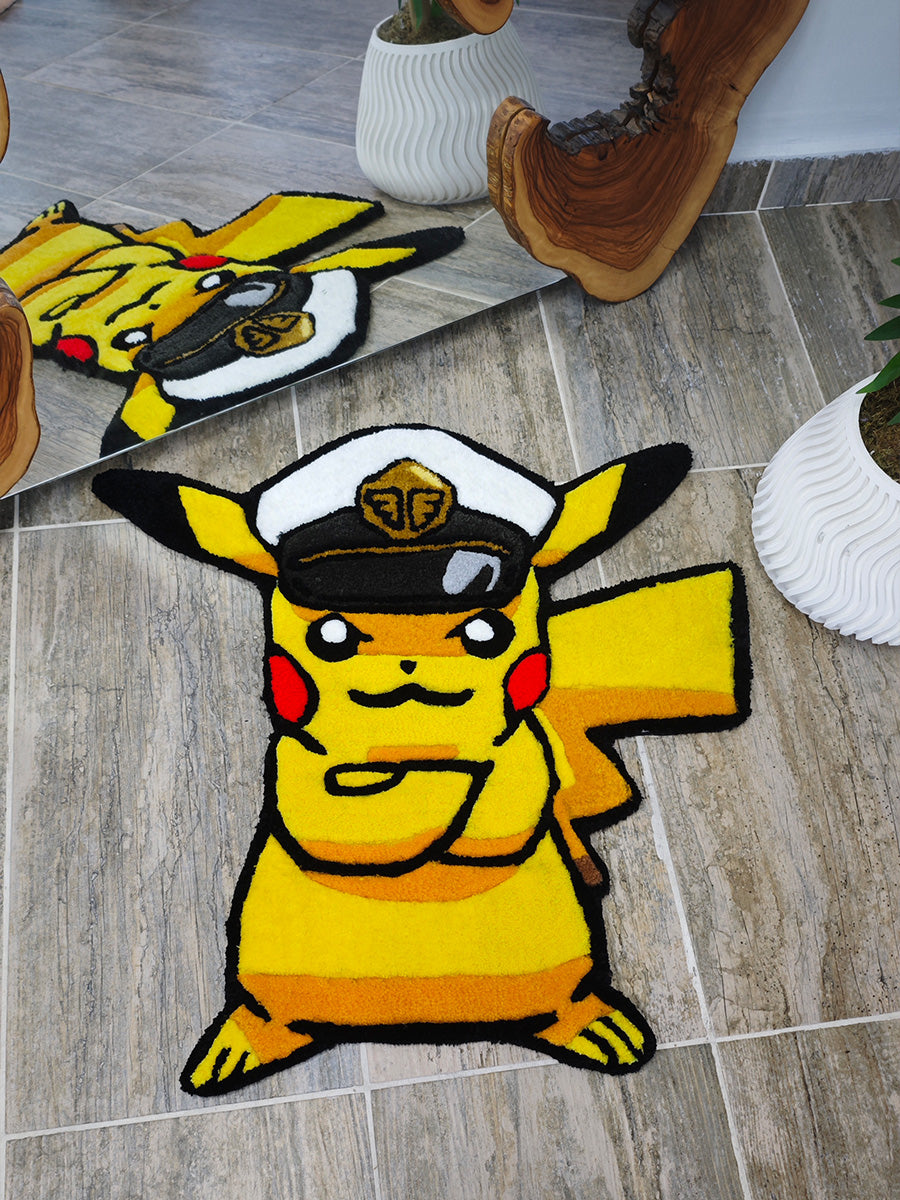
4. The Golden Rule: Mirroring
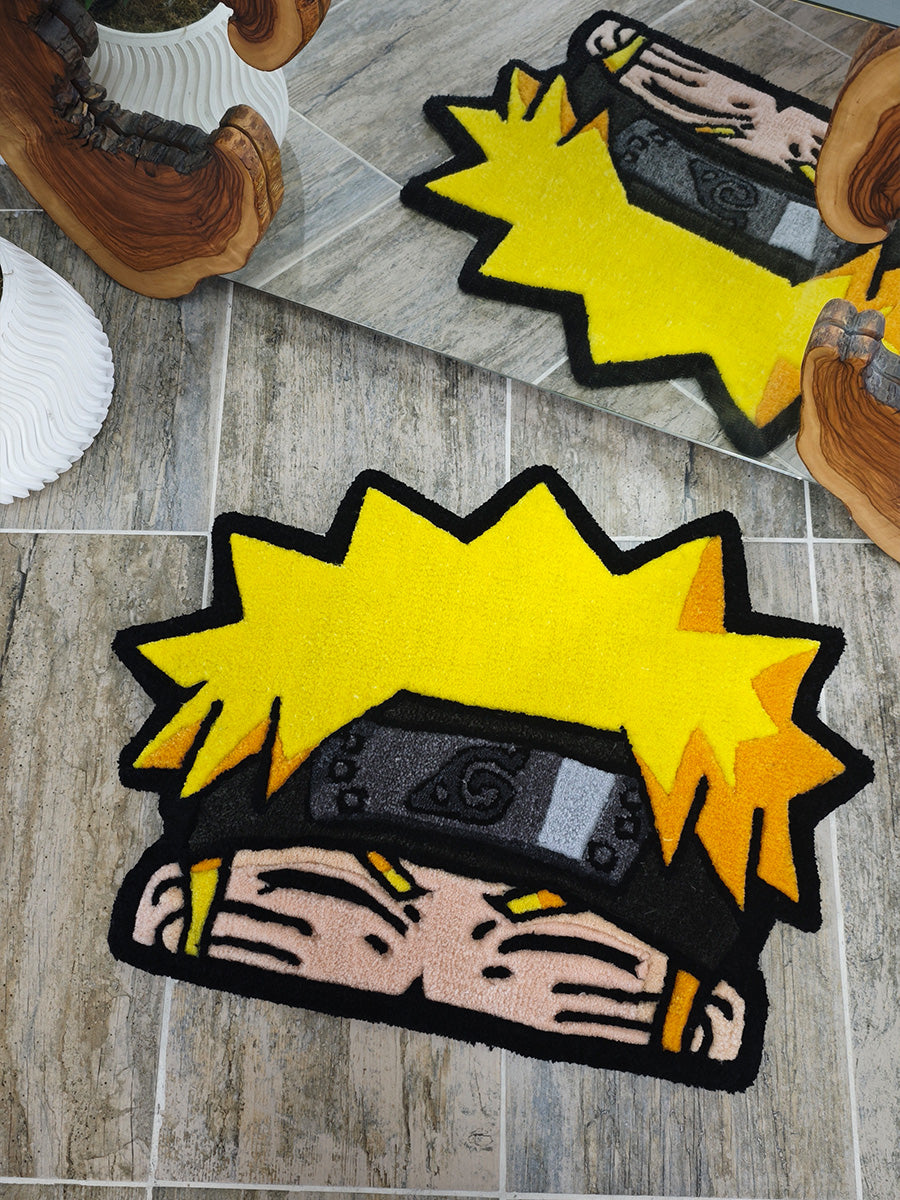
Since we work on tufting rugs from the back (reverse), the design must look correct when viewed from the front of the frame. Therefore, before transferring your design to the fabric, you MUST FLIP IT HORIZONTALLY.
If you skip this step, especially in designs containing text, the writing will be read backwards when the rug is finished!
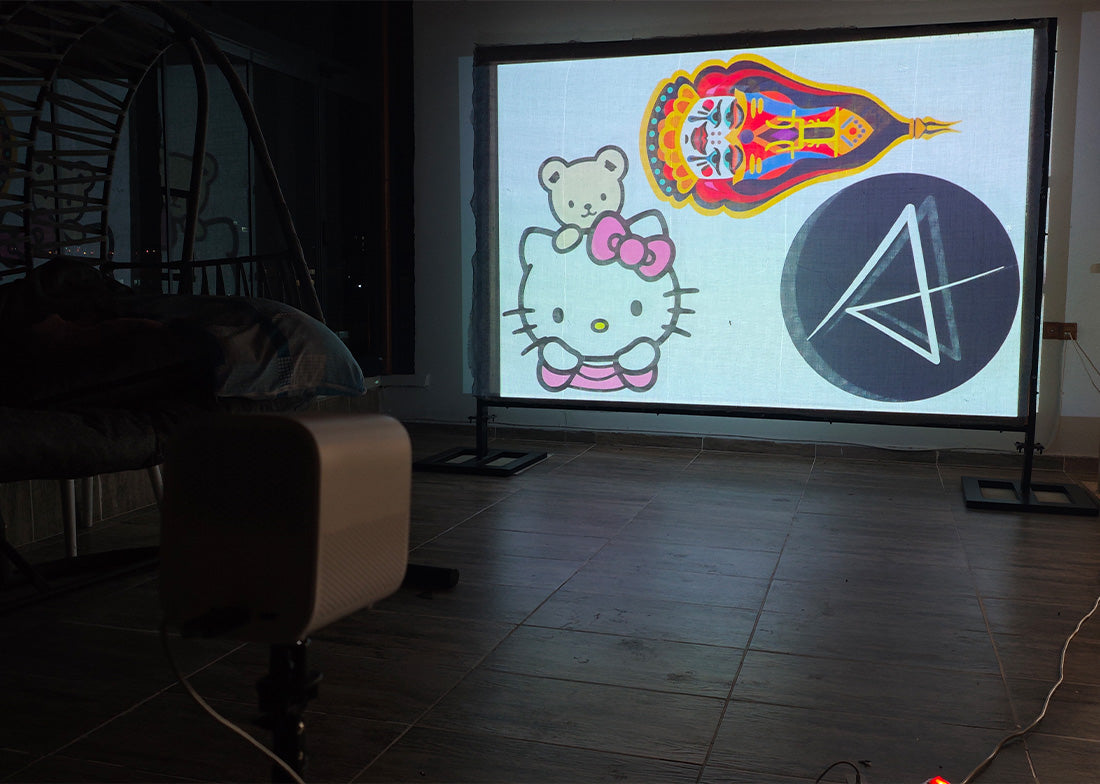
5. Methods for Transferring Design to Fabric
- Projector (Most Professional): Project your digital drawing onto the wall-mounted frame and trace over it with a marker. The margin of error is zero.
- Freehand Drawing: Draw directly on the fabric with a permanent marker for simple and organic shapes.
- Stencil Cutting: Print on large paper, cut out the shapes, and outline them on the fabric.
6. Professional Design Tips
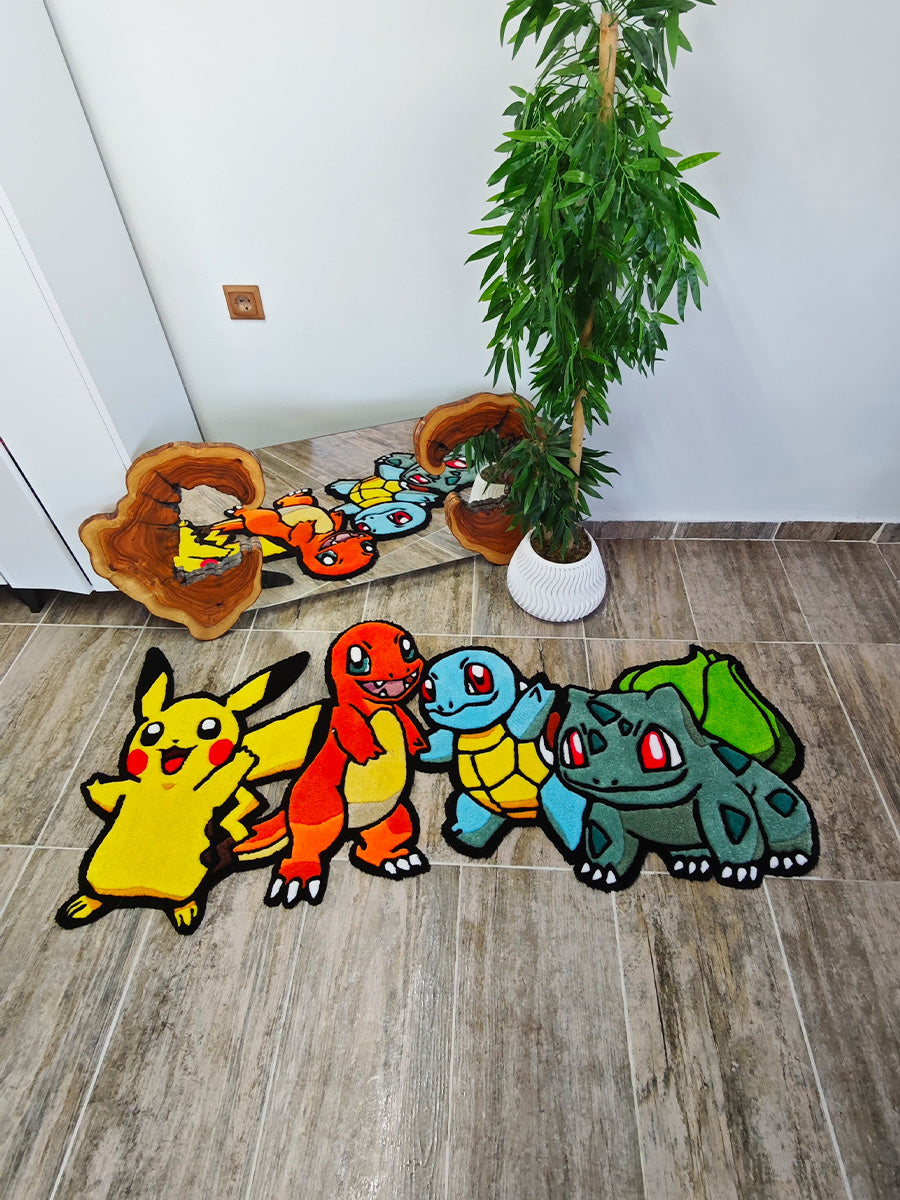
- Negative Space: You don't have to fill the entire rug. Sometimes, shaped rugs (non-rectangular designs where you cut around the shape) look more modern.
- Margins: Stay at least 2–4 inches (5-10 cm) inside the frame edges when drawing your design. Working too close to the edge is difficult, and the fabric doesn't stretch properly there.
- Complexity Control: A tufting gun is not a pen. Very fine details (smaller than 0.4 inches / 1 cm) and micro-text get lost in the rug. Simplify the design.
Creating your own designs is the most enjoyable way to master the art of tufting.