If you want to take your hobby to the next level and start producing professionally, you don't just need a random corner in your house—you need a well-planned studio. Setting up the right layout at home will not only improve your craftsmanship but also help you keep on good terms with your neighbors!
1. Choosing the Ideal Room
Any spare room can potentially become a tufting studio, but paying attention to a few technical details will make your life much easier:
- Flooring: Avoid carpeted rooms at all costs. The tufting process creates a massive amount of yarn dust. Hardwood, laminate, or tile floors are infinitely easier to sweep and clean.
- Lighting: To accurately match yarn colors and perform detailed carving, you need a room with plenty of natural light or strong, white LED fixtures.
- Ventilation: Carpet backing glue (latex) can leave a strong odor while drying. A room with at least one window for proper air circulation is absolutely vital.
2. Studio Layout: Build Your Production Line
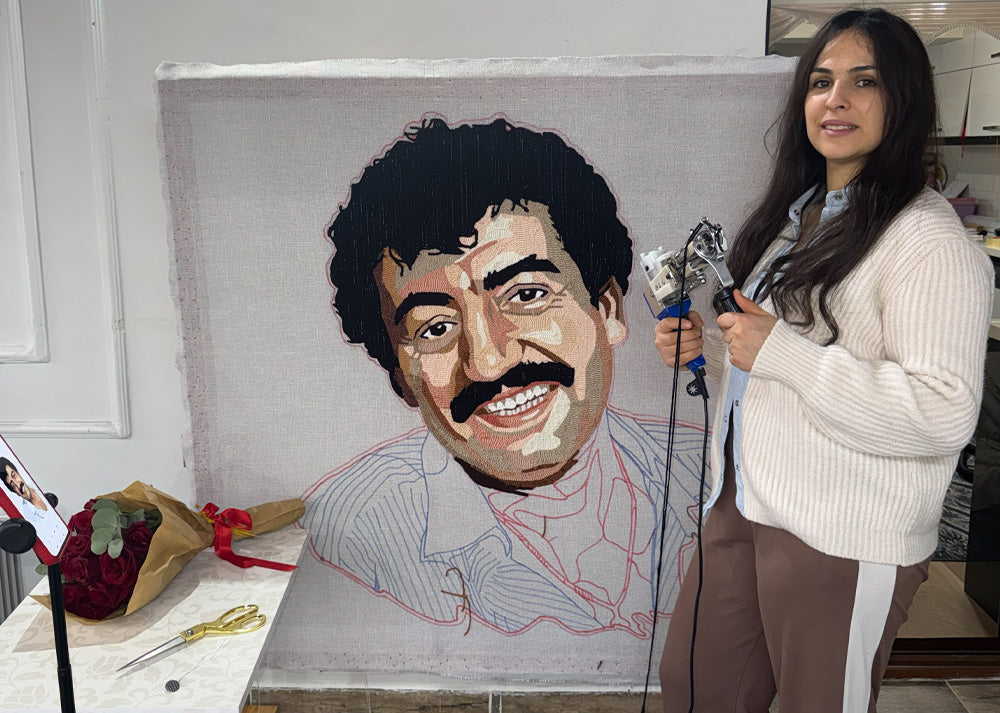
In an efficient studio, the workflow from raw materials to a finished product should move seamlessly. Divide your room into three main zones:
The Tufting Area (The Dusty Zone)
This is where your tufting frame and yarn shelves live. Most of the dust accumulates here. Instead of mounting your frame flush against a wall, leave enough walking space behind it to make adjustments easier.
Gluing and Drying
The area where you apply glue while the rug is still on the frame. The floor here should be protected with plastic drop cloths, and the room temperature must be suitable for curing.
Finishing & Packing (The Clean Zone)
A dust-free desk area dedicated to carving/shaving the rug details with clippers, doing the final lint-rolling, and packaging the finished products.
3. Noise and Dust Management
For dust management, a Shop-Vac or a strong vacuum with a HEPA filter is a studio absolute must-have. Vacuuming the area at the end of every tufting session prevents yarn fibers from spreading to the rest of your house.
4. Estimated Studio Startup Costs
Here is the average budget required to set up a professional home tufting studio (based on recent US market prices):
| Equipment / Expense | Estimated Cost (USD) | Note |
|---|---|---|
| Tufting Gun (Cut Pile) | $150 - $250 | A reliable, high-quality machine is essential. |
| DIY Wooden Frame & Tack Strips | $50 - $120 | Building it yourself saves money. |
| Carving Clippers (Shaver) | $50 - $150 | Crucial for a clean, professional look. |
| Lighting & Shelving | $100 - $250 | For yarn organization and proper visibility. |
| TOTAL INVESTMENT | $350 - $770 | For an entry-level professional setup. |
Don't Postpone Your Dream!
Building your own studio isn't just about prepping a room; it's about building a home for your creativity. Your first loop might not be perfect, but with every finished rug, you'll see how much your own workspace inspires you.
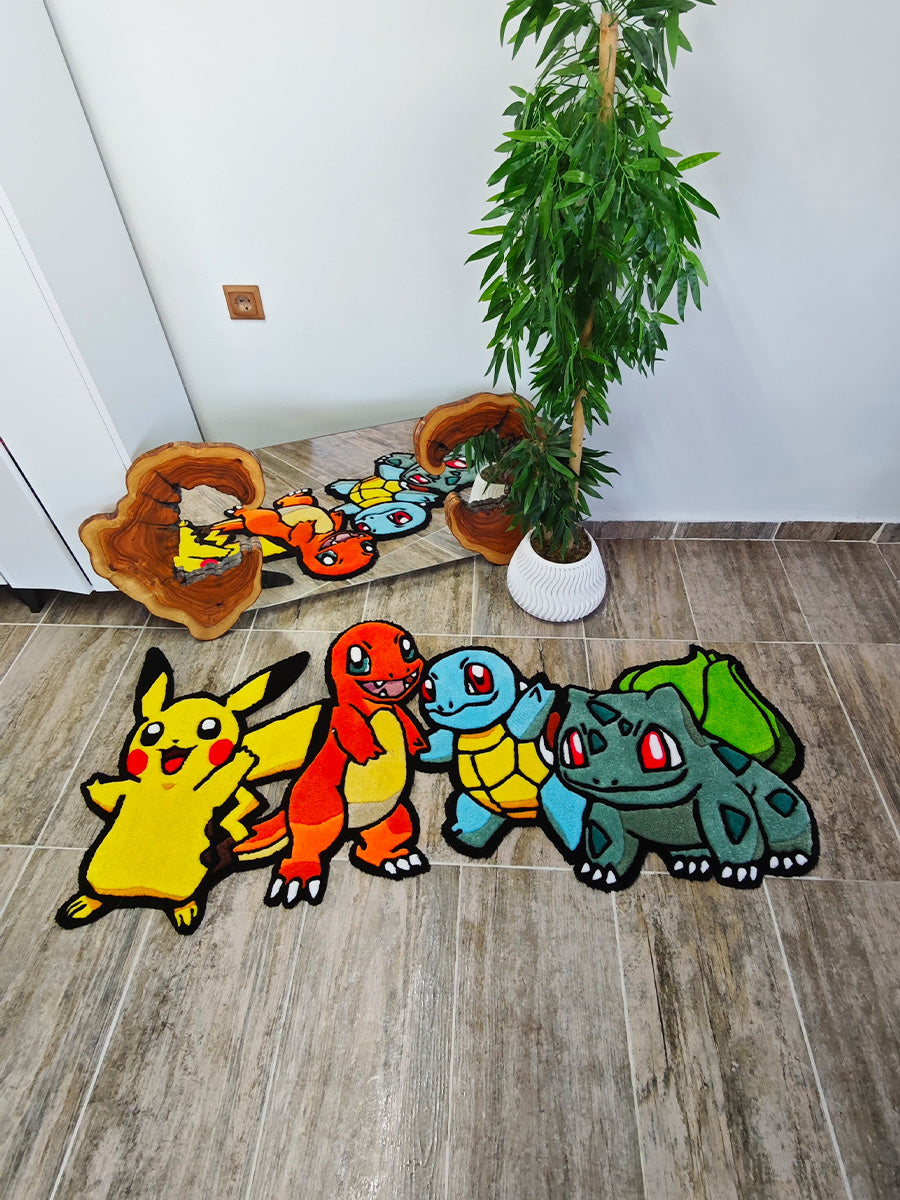
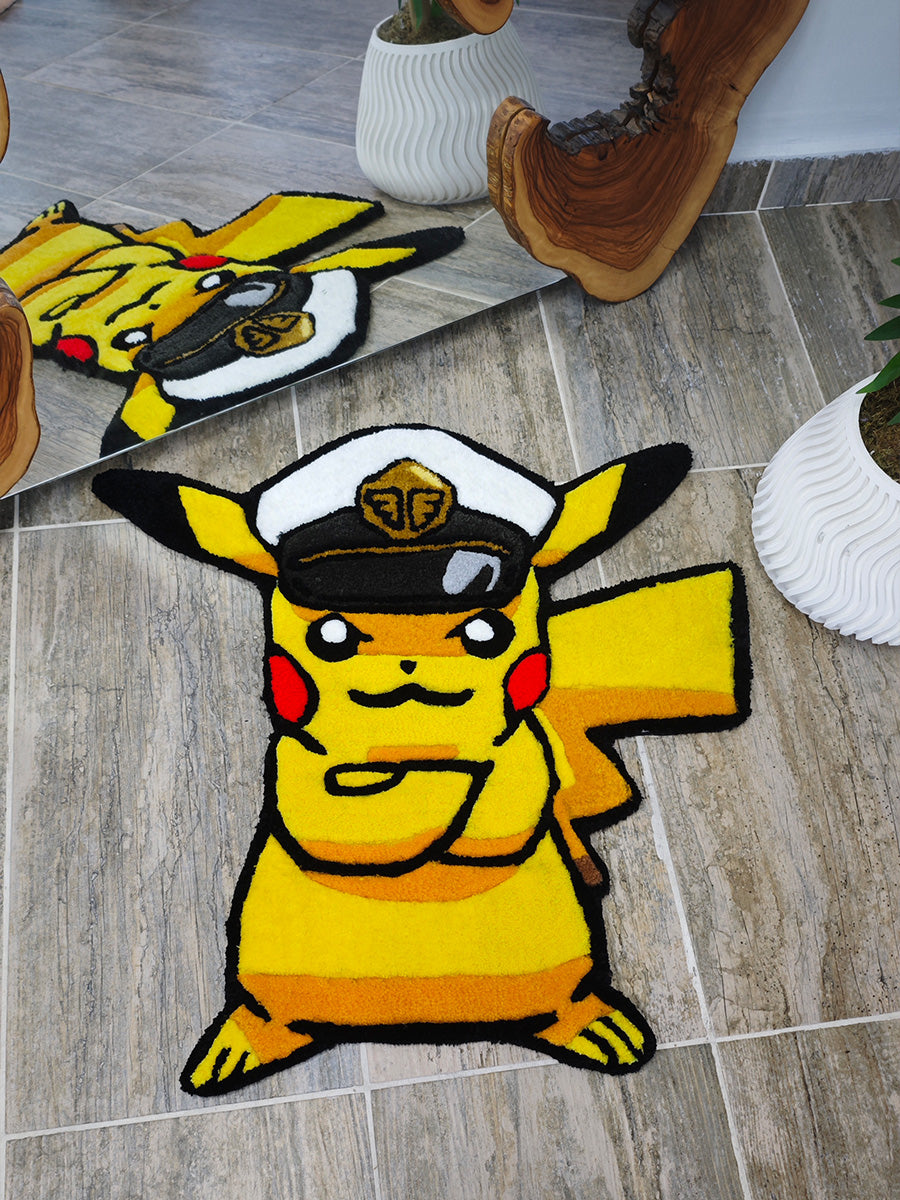
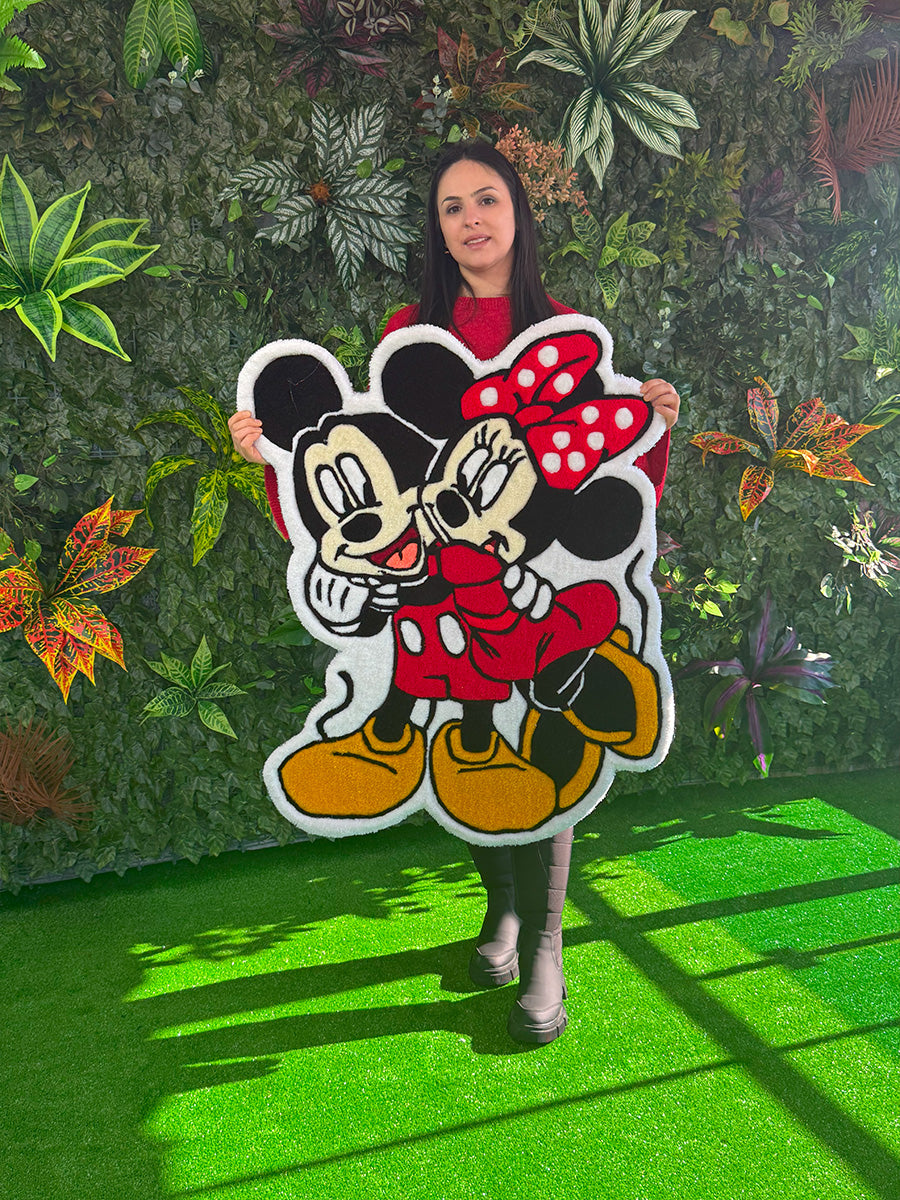
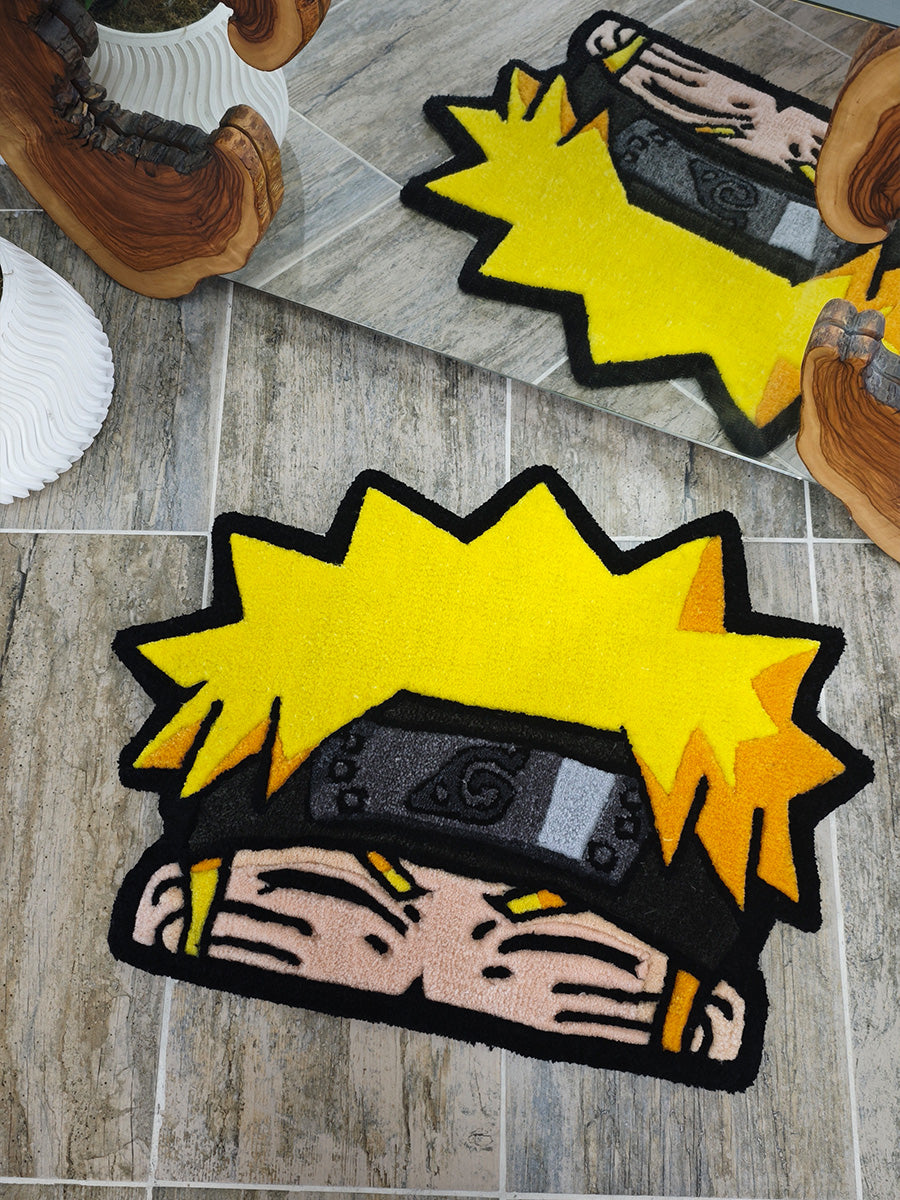
To get inspired by the professional tufting world, browse our collections and discover the craftsmanship behind every GG Tufting piece.