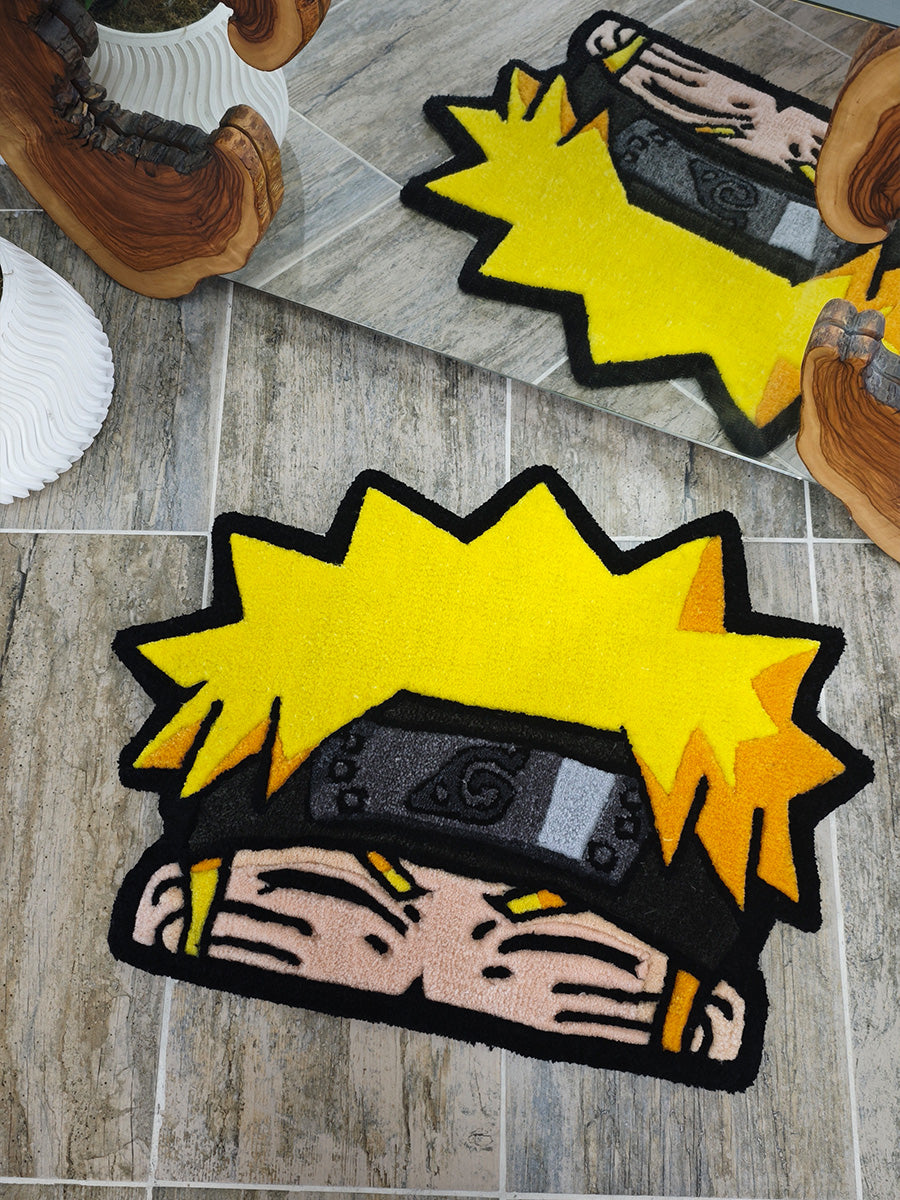
Does designing and making your own rug sound intimidating? With the right equipment and techniques, tufting is actually one of the most rewarding hobbies you can enjoy from the comfort of your home. Whether you're creating a piece of art for yourself or a unique gift for a loved one.
In this guide, we'll walk you through how to make a professional-quality rug from A to Z, right up to GG Tufting studio standards.
1. Preparation: Setting Up Your Workspace
Before you begin, embrace the concept of "mise en place" (having everything in its place). Missing supplies will interrupt your creative flow.
2. The Step-by-Step Process
When attaching your cloth to the frame, the golden rule is tension. Secure the cloth to the gripper strips and pull it tight from every direction. It should sound like a drum when you flick it. Loose cloth will cause your tufting gun to bounce and potentially tear the fabric.
Use a projector to display your design onto the cloth and trace it with a permanent marker.
Tufting is done from the back (reverse side) of the rug. Therefore, you must FLIP YOUR DESIGN HORIZONTALLY before tracing it onto the cloth. This is absolutely crucial, especially if your design includes text or letters.
Thread your yarn into the gun and turn it on. Here are the golden rules:
- Apply Pressure: Don't be afraid to press the gun firmly against the cloth. The foot of the machine needs to stay in constant contact with the fabric.
- Direction: The gun must always move in the direction of the foot (usually bottom to top). Never pull it backward.
- Speed: Move the machine at a consistent pace. If you move too fast, you might rip the cloth; if you move too slow, the yarn will bunch up.
When you finish tufting, the yarn isn't fully secure yet. While the rug is still on the frame, apply a generous layer of Carpet Adhesive (Latex) to the back. Use a putty knife or spatula to work the glue right into the roots of the yarn. Let it dry for at least 24 hours.
Once the glue is completely dry, cut the rug down from the frame. For a clean finish and extra protection, apply a secondary backing cloth (like felt or non-slip backing) to the rear. Fold the excess primary cloth along the edges over to the back and secure it using hot glue or a strong spray adhesive.
This is where the magic happens! Use carpet clippers to level out the uneven yarn on the front of your rug. Define the lines between different colors using scissors (the "V-cut" method) to give your rug a crisp, 3D, professional look.
🌟 GG Tufting Expert Advice
Patience is key here. On your first try, your lines might be a bit wonky, or you might struggle to control the gun. That is completely normal! Build up your muscle memory by practicing on small projects, like coasters or mini wall hangings, before tackling a big piece.
Making your own rug isn't just about creating home decor; it's about crafting a story.