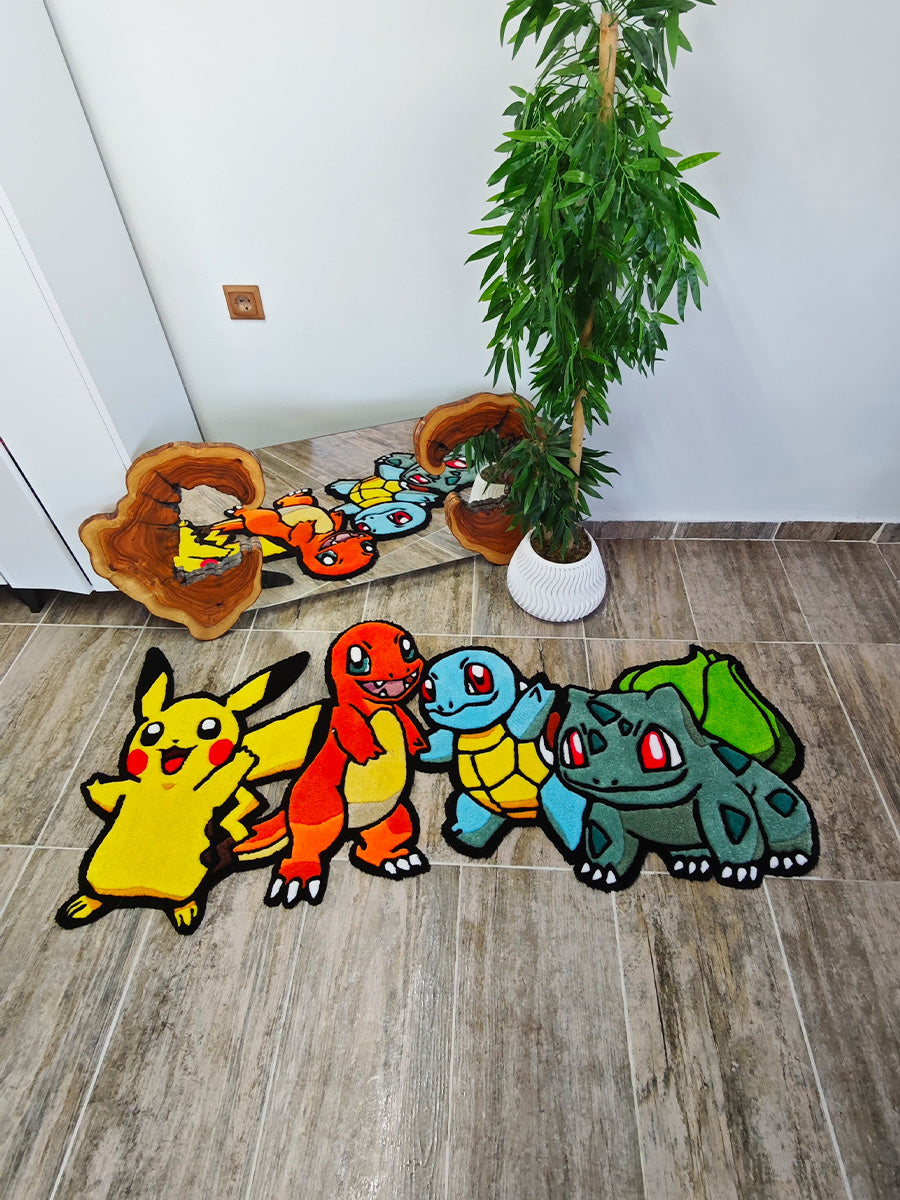
You’ve put down the tufting gun, finished the gluing process, and taken your rug off the frame. But wait a minute... Does your rug look nothing like those smooth, razor-sharp, 3D-looking rugs you see on Instagram? The secret lies in the "Finishing" touch: Carving and Shearing.
In this guide, as GG Tufting, we explain in detail how to add depth to your rugs and achieve that famous "3D look."
1 Why Should You Carve?
When working with a tufting gun, yarns explode next to each other, creating a "fuzzy" look where colors seem to bleed into one another. We call this the "raw look." Carving provides:
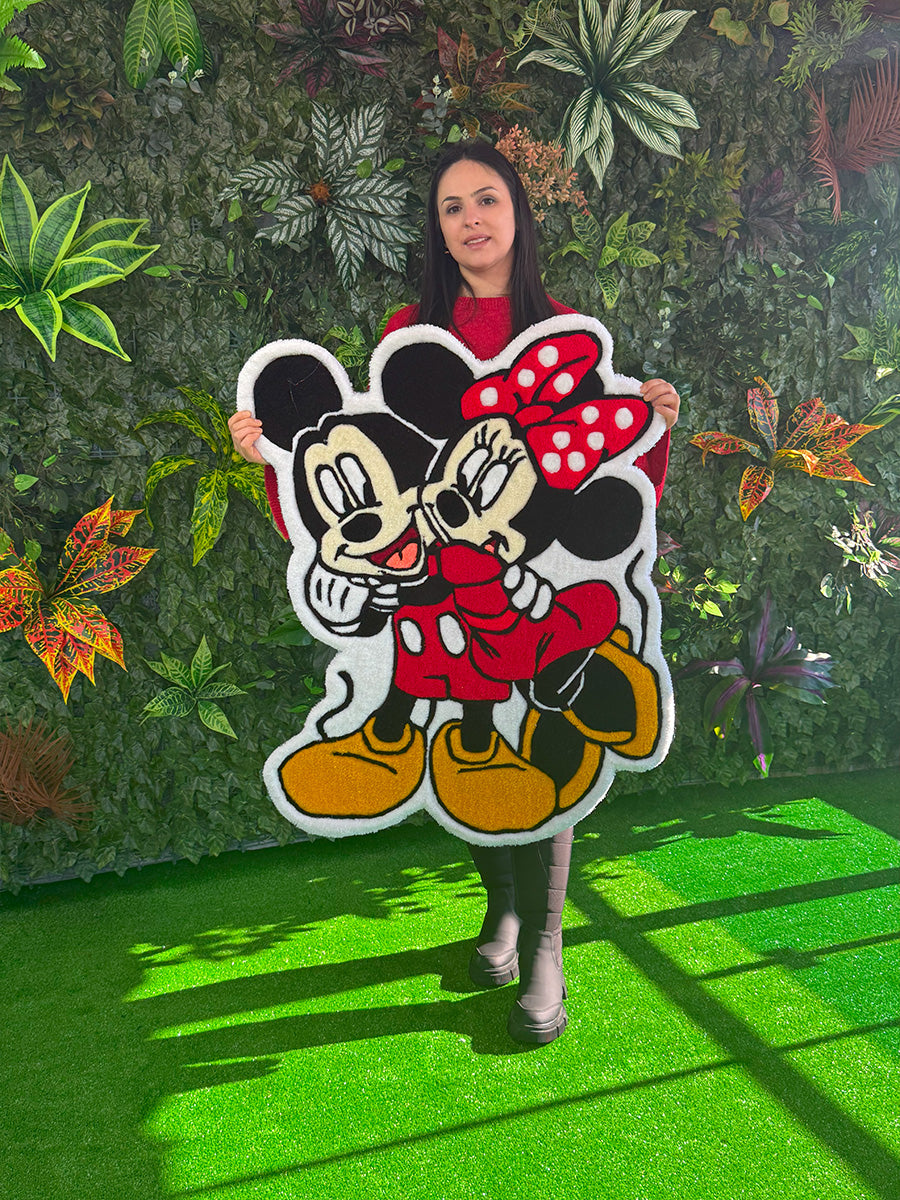
- 🎨 Color Separation: Sharpens the boundaries where colors meet.
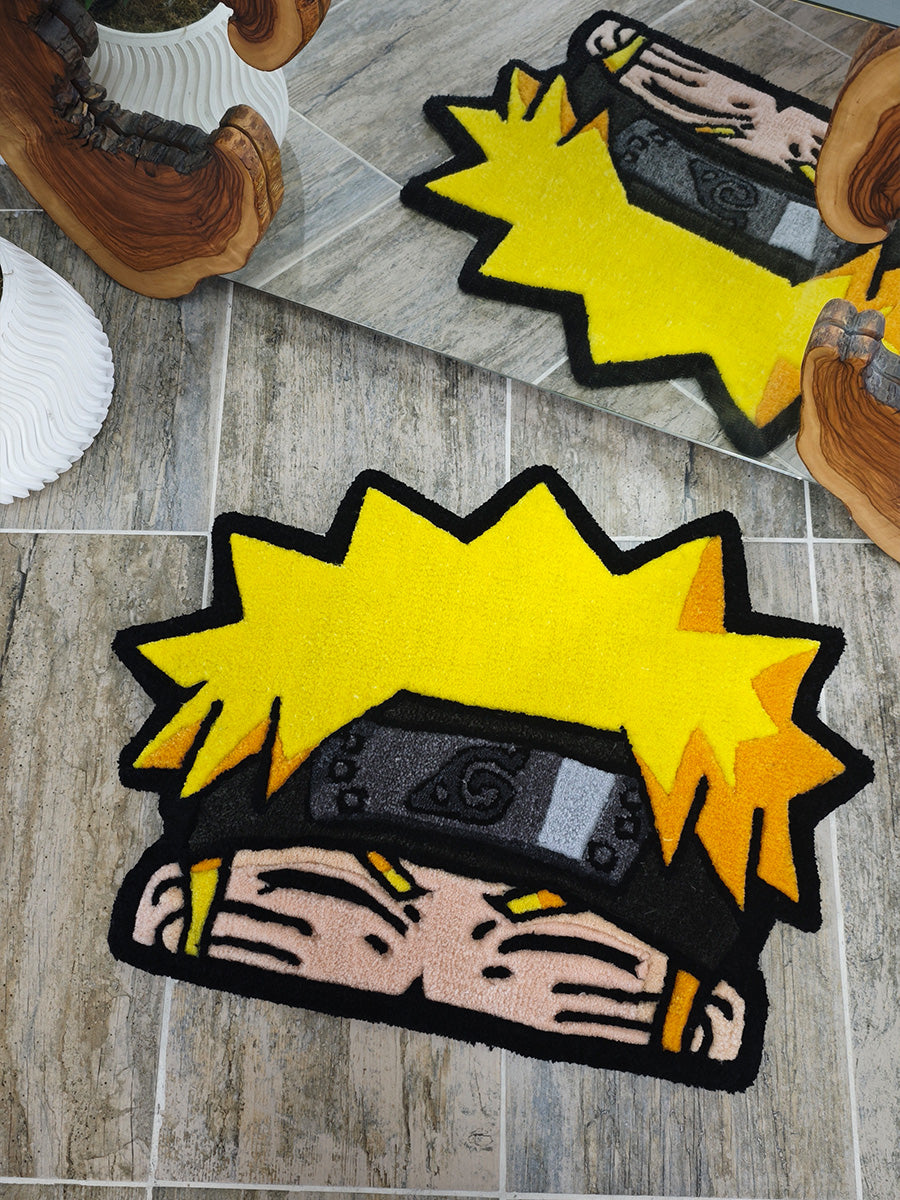
- 🗻 Depth (3D): Creates shadows by varying surface levels.
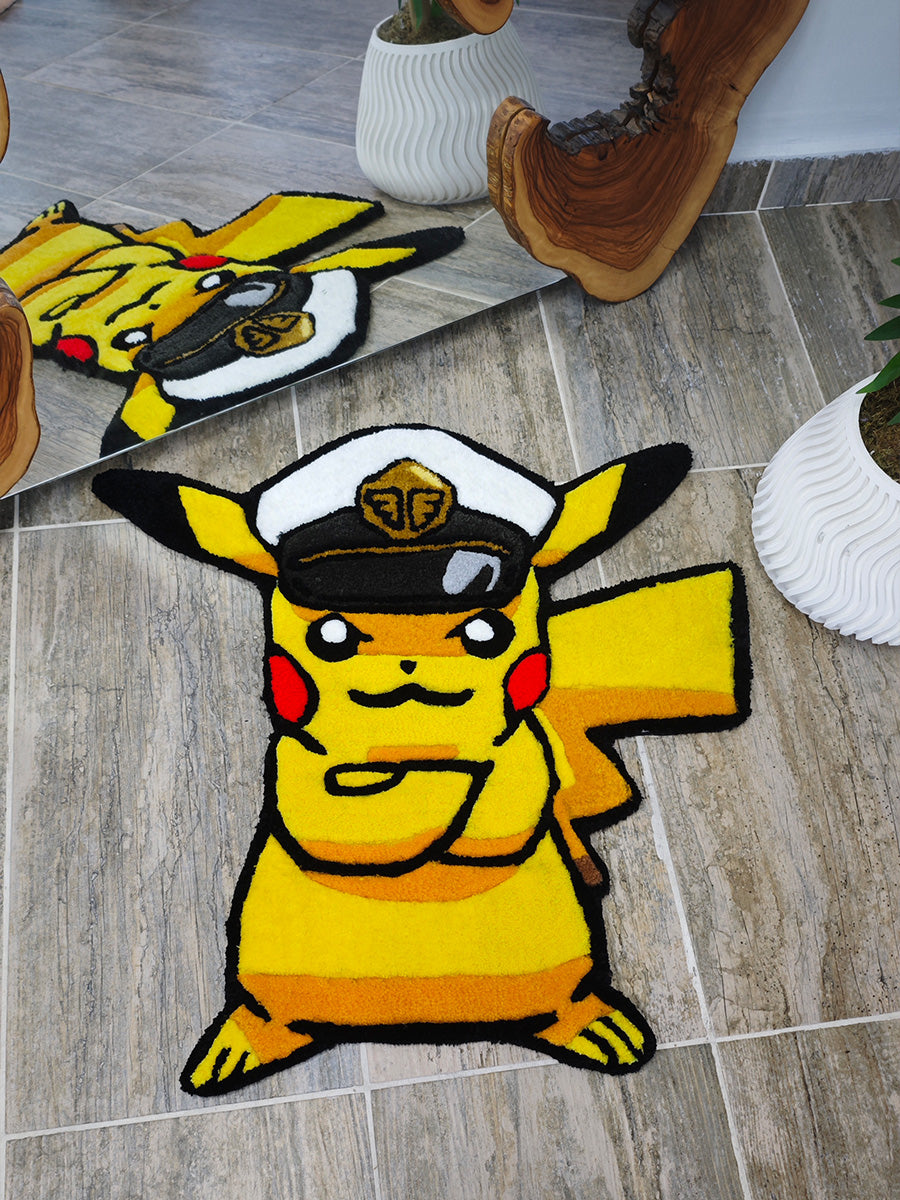
- ✨ Clean Surface: Levels uneven yarn lengths into a flat, velvet-like texture.
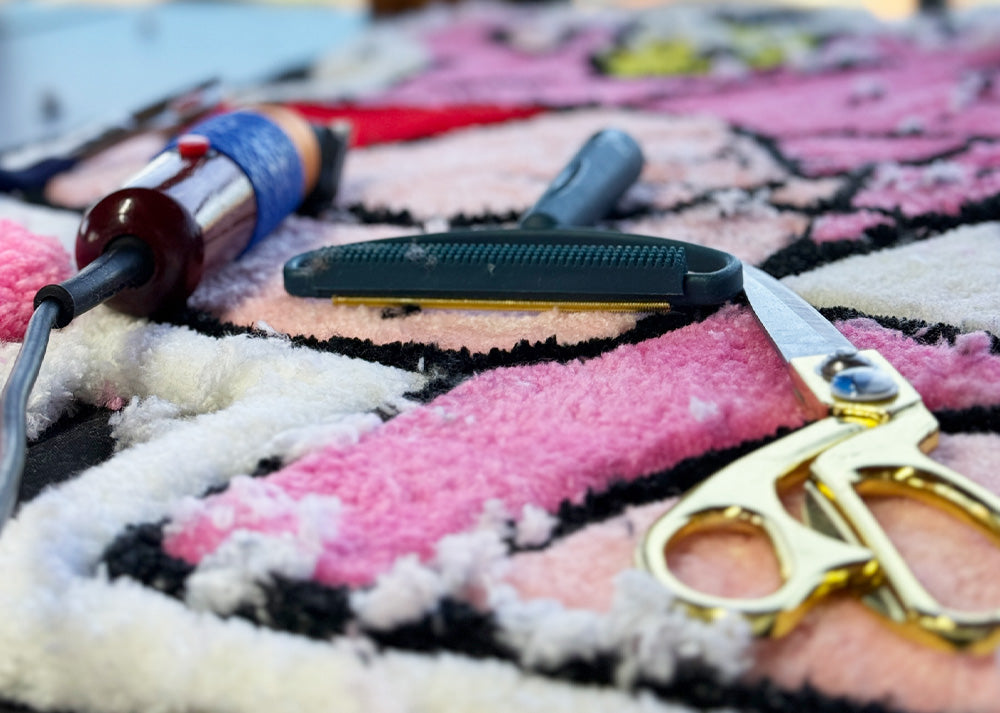
2 The "Surgeon's" Tools
For a successful carving process, the right tools are just as important as skill.
For leveling large surfaces and rough carving. Must be speed-adjustable.
Thanks to the curved "duckbill" blade, you can trim without accidentally cutting the base fabric.
Removing the fiber dust instantly allows you to see mistakes clearly.
3 Step-by-Step Techniques
- 1. On-Frame Carving A pro secret! Before adding a second color, trim the edges of the first color at an angle with scissors. This makes your job 50% easier later.
- 2. Shearing (Leveling) After the rug is finished, hold the clippers parallel to the surface and shave the entire rug "smooth as glass." Don't press down; just glide over the surface.
★ THE V-CUT TECHNIQUE (3D EFFECT) ★
Cut the line where two colors meet at a 45-degree angle to create a "channel."
4 Critical Tips
While carving, micro-dust fills the lines and prevents you from seeing your cuts clearly. Vacuum or brush the area every 2 minutes. Don't fly blind!
Tufting is an art where you can add yarn, but you cannot put cut yarn back. Always run your clippers at the lowest speed and trim little by little. Don't dive deep in one go.
To take your tufting journey to the next level, check out our collection of professional Clippers and Guides. Let your designs speak!