Tufting Blog
5 Ways to Make Your Tufted Rugs Last Longer (Advanced Care Guide)
Tufted rugs are indispensable parts of decoration with their handmade and artistic values. However, for these special rugs to be long-lasting, they require an advanced care routine different from standard industrial rugs. At GG Tufting, we have compiled 5 professional strategies to keep your handcrafted rugs in their first-day form for years. 🧹 1. The "Gentle Power" Principle in Cleaning Tufted rugs are not as tightly woven as machine-made rugs. Vacuum power and harsh chemicals are their biggest enemies. Do These ✅ Brushless Nozzle: Use only the suction attachment of the vacuum cleaner. Rotating brushes pull out fibers. Blotting: Do not rub if a spill occurs. Press down with a paper towel to absorb the liquid. Lint Roller: Use a sticky lint roller for surface dust and pet hair. Don't Do These ❌ Washing Machine: Never put it in the washing machine. The latex backing will crumble. Harsh Chemicals: Bleach or heavy stain removers will ruin the colors. Shaking: Shaking the rug vigorously can cause the backing to crack. ☀️ 2. Managing Sunlight and Traffic Your rug's enemy is not just dirt; UV rays and foot traffic also age the rug. ☀️ Effect of UV Rays (Simulation) Original Color (Shade) Faded Color (Sun) Rotate your rug 180 degrees every 3-6 months. This ensures both sunlight and foot traffic marks are distributed evenly across the rug. 🧱 3. Reinforcing the Backing The skeleton that holds the rug together is its backing. A backing that loosens over time causes yarn shedding. Re-gluing: If the rug is very old and has softened, a thin layer of fresh latex can be applied under the backing cloth. Binding Tape: Add an extra layer of protection with twill tape to prevent edges from fraying. 💡 Advanced Tip: Always place a quality Rug Pad under your rug. This prevents slipping and absorbs shock when stepped on, delaying the crushing of fibers. 💧 4. The Sneakiest Enemy: Moisture The latex glue used in tufted rugs is sensitive to moisture. High humidity can break down the glue structure, causing it to "crumble" (turn into powder and shed). ⚠️ Bathroom and Kitchen Warning: If you plan to use your rug in these areas, make sure to use water-resistant synthetic yarns (acrylic) and water-resistant special glues. Natural wool yarns trap moisture and can mold. 📅 5. Professional Maintenance Calendar Creating a "care routine" for your rug doubles its lifespan. Weekly Light Vacuuming & Lint Rolling Every 6 Months Rotation Annually Professional Dry Cleaning By appreciating your own handiwork, you can keep your tufted rugs for a lifetime with these methods.
Learn more
How to Use a Tufting Gun: A Step-by-Step Guide for Beginners
The tufting gun is the magic wand of this craft, allowing you to bring your creative projects to life. However, using this powerful tool correctly is crucial for both efficiency and safety. In this guide, with GG Tufting expertise, we will learn step-by-step how to choose your gun, set it up, and master the technique of creating flawless loops. ⚙️ 1. Choosing the Right Equipment This is the most critical decision that determines the texture of your project. There are two main styles: CUT PILE Automatically cuts the yarn. Creates a plush, soft, and fluffy surface. This is the most popular choice. LOOP PILE Does not cut the yarn; leaves loops. Provides a firmer, nubby, and durable finish. * "2-in-1" machines like the AK-PRO support both modes. 🎒 2. Before You Start: Preparation Checklist Primary Tufting Cloth: Must be flexible and durable (Monk's Cloth). Frame: To stretch the fabric drum-tight. Yarn: 100% Acrylic or Wool (Cones are recommended for smooth feeding). Yarn Threader: A wire loop to pull yarn through the needle. Scissors & Glue: For finishing touches. 🚀 3. Step-by-Step Execution 01 Stretching the Fabric (Critical Step) Stretch your cloth on the frame as tightly as possible. When you tap on it, you should hear a drum sound. Loose fabric will tear and won't hold loops properly. 02 Yarn Feeding Thread the yarn through the loop on top of the gun and then through the needle eye using your threader. Important: Your yarn cone must spin freely. If the yarn gets snagged, it will pull out of the needle. 03 Stance & Pressure Hold the gun perpendicular (90 degrees) to the cloth. Apply firm pressure against the fabric with the gun's metal foot. If you don't press hard enough, the machine will bounce and cut the cloth. 04 Direction of Movement ⬆️ ALWAYS MOVE UPWARDS The foot of the gun should always lead, with the needle following. Never pull backward or go sideways. To change direction, stop the gun, pull it out, and rotate it. 💡 4. Expert Tips Speed Control: If you are a beginner, turn the speed dial at the bottom of the gun to the lowest setting. Focus on your control, not the machine's speed.Filling Gaps: You can leave millimeter-sized gaps between lines. Since the yarn blooms open on the front side, those gaps will naturally close up. 🔧 5. Troubleshooting Fabric is Tearing You are not pressing the gun hard enough against the cloth, or the cloth is too loose. Yarn Keeps Falling Out Your yarn cone is stuck or the yarn path is obstructed. Yarn must flow freely. Uneven Loops Your hand speed is not synchronized with the machine speed. Try to move at a consistent pace. Using a tufting gun gets easier and more fun with practice. Be patient with your first projects. With quality equipment and the right technique, producing the rugs of your dreams is easier than you think!
Learn more
Mastering Home Decor with Tufting Rugs: Advanced Styling Guide
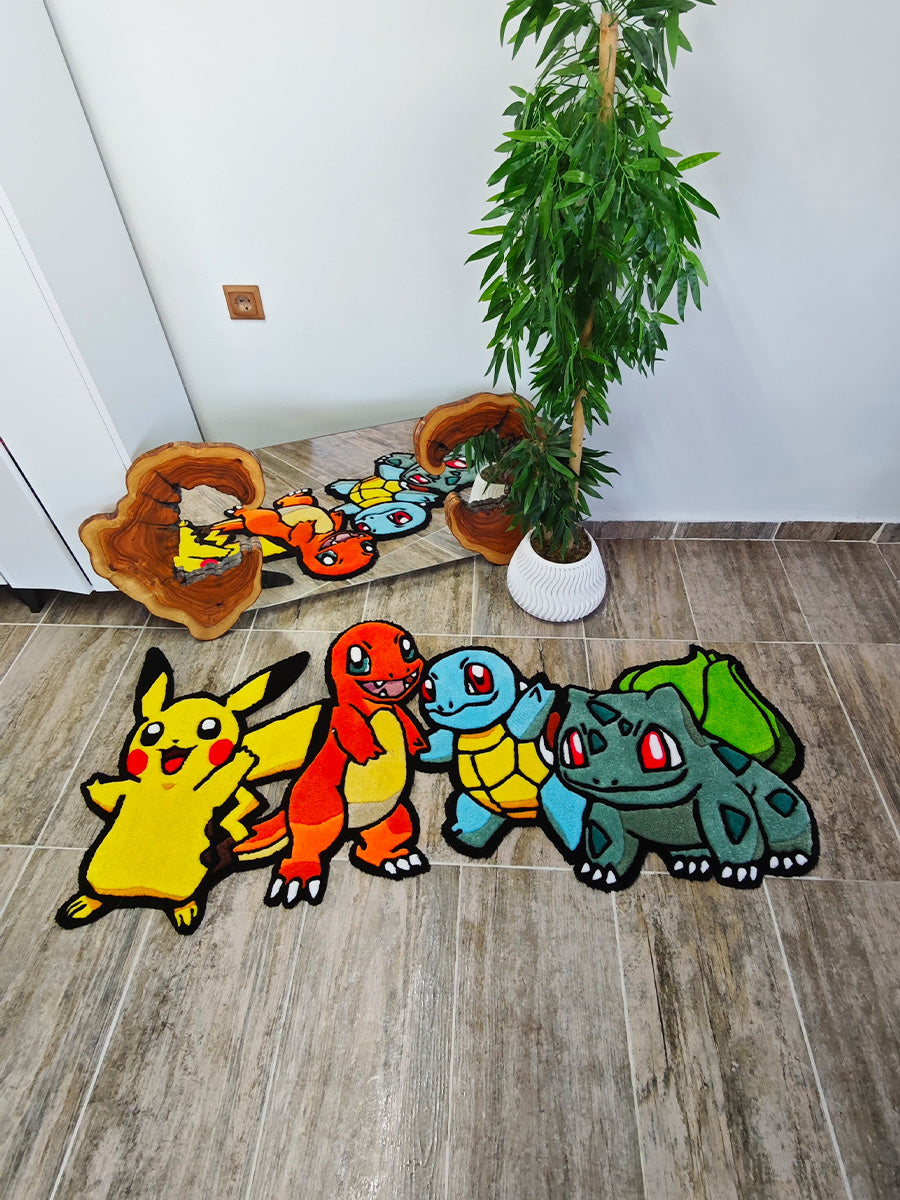
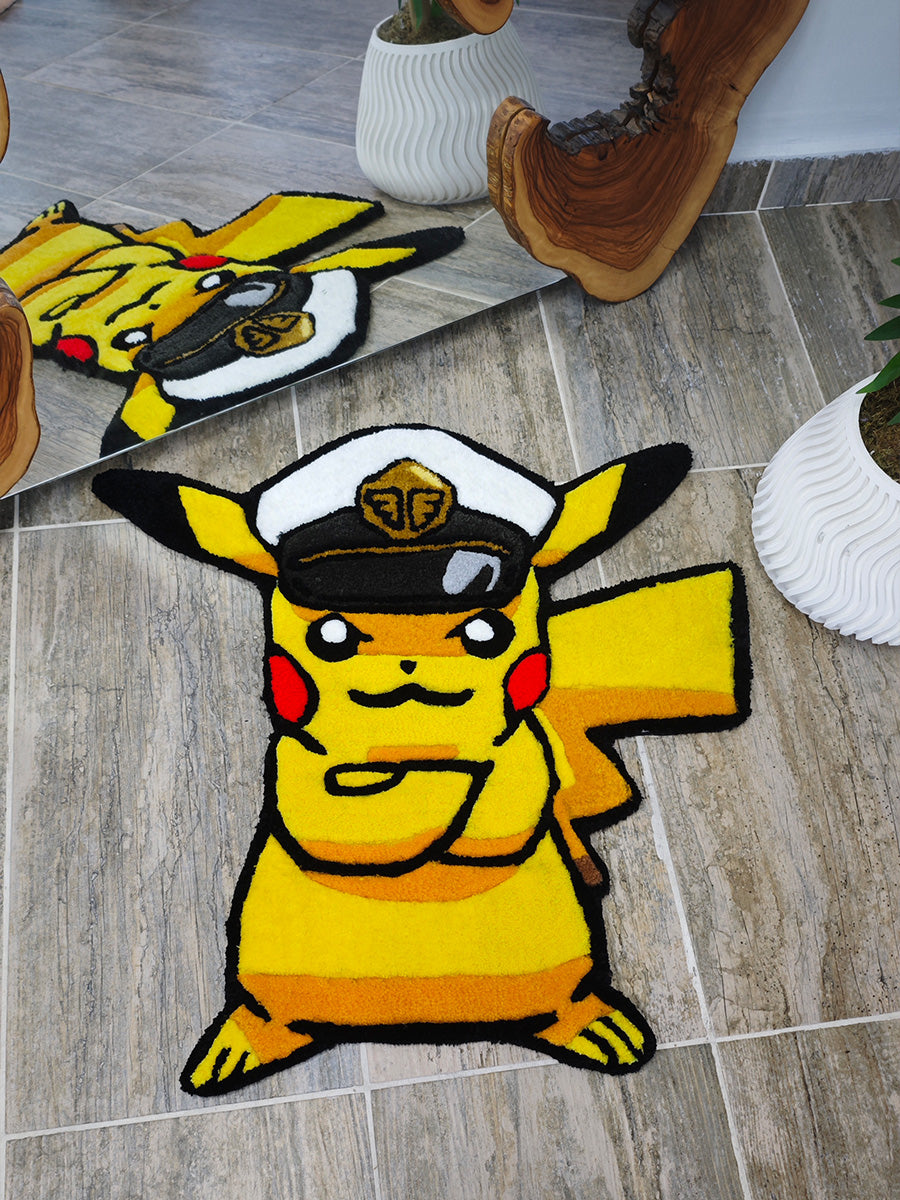
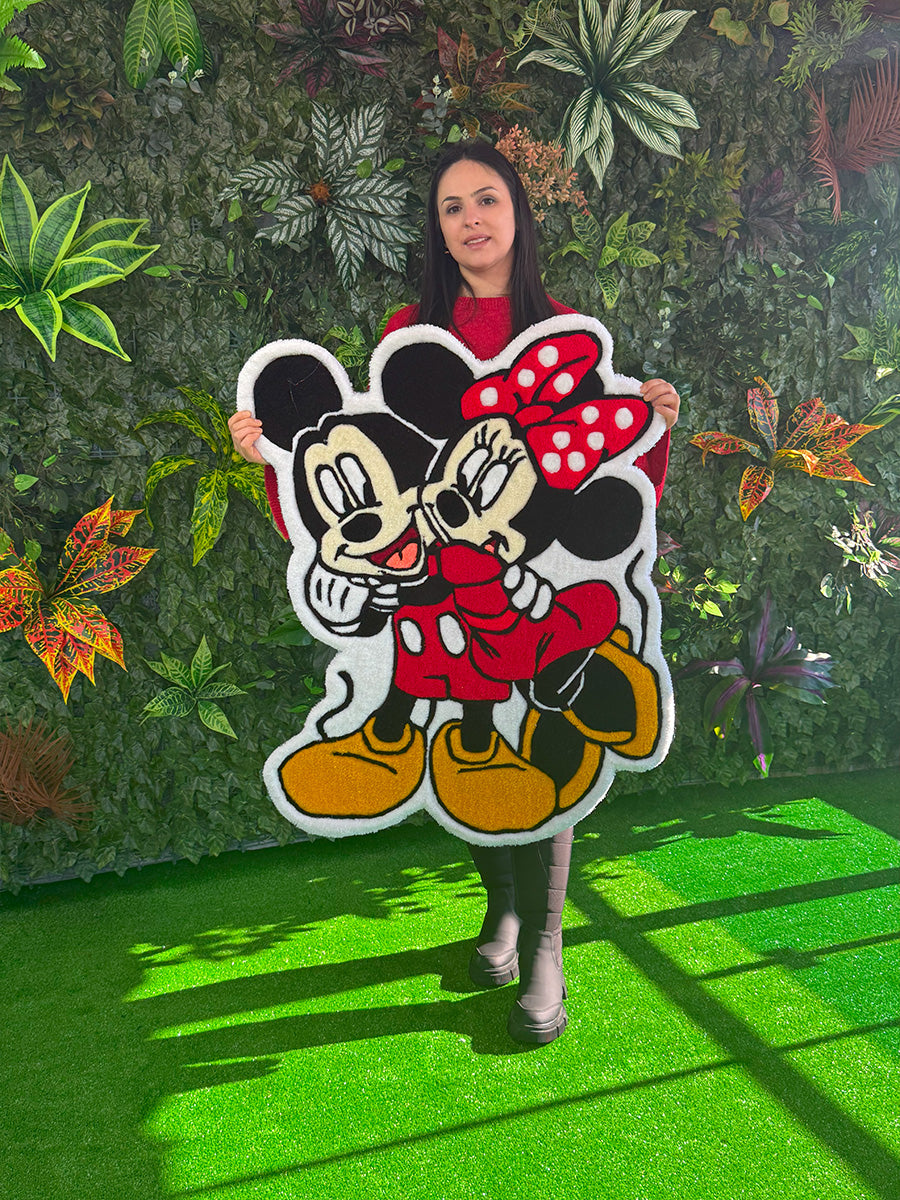
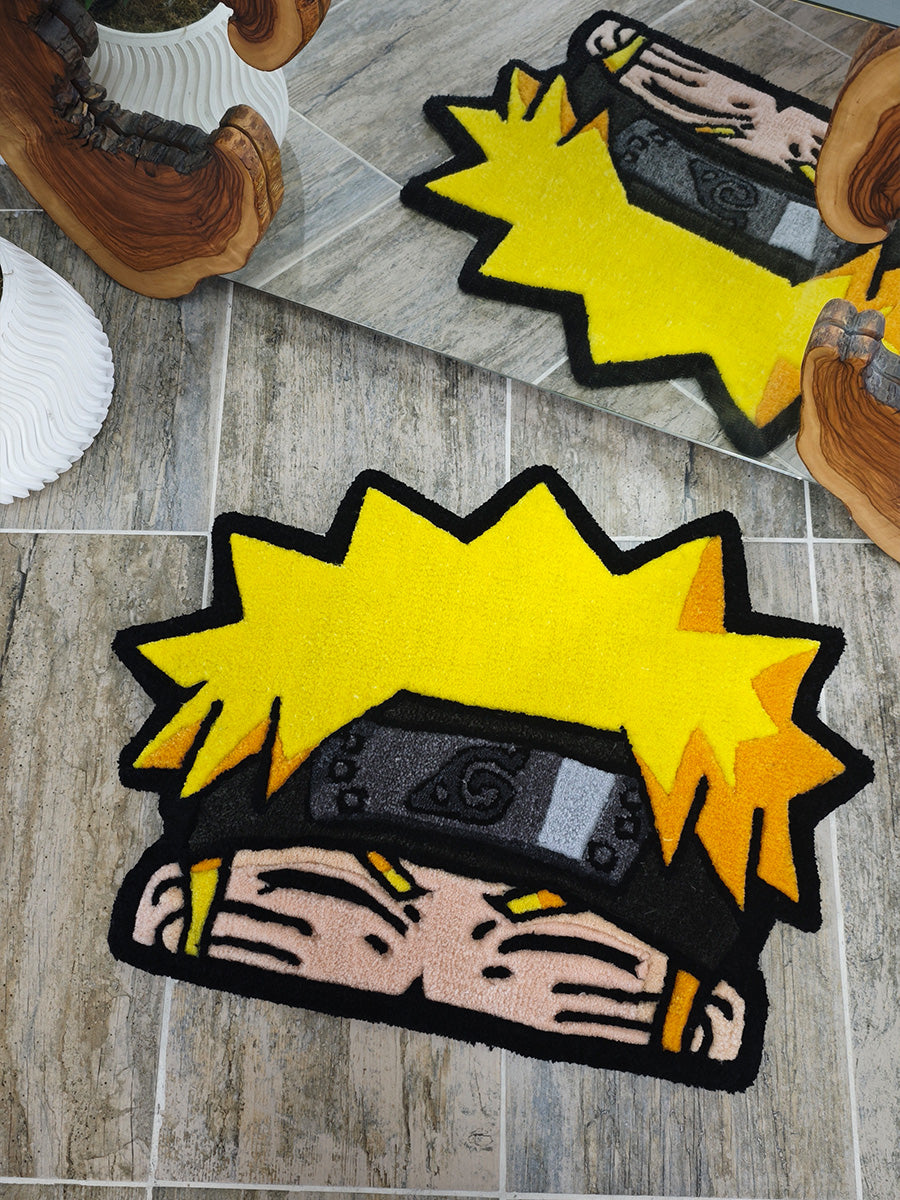
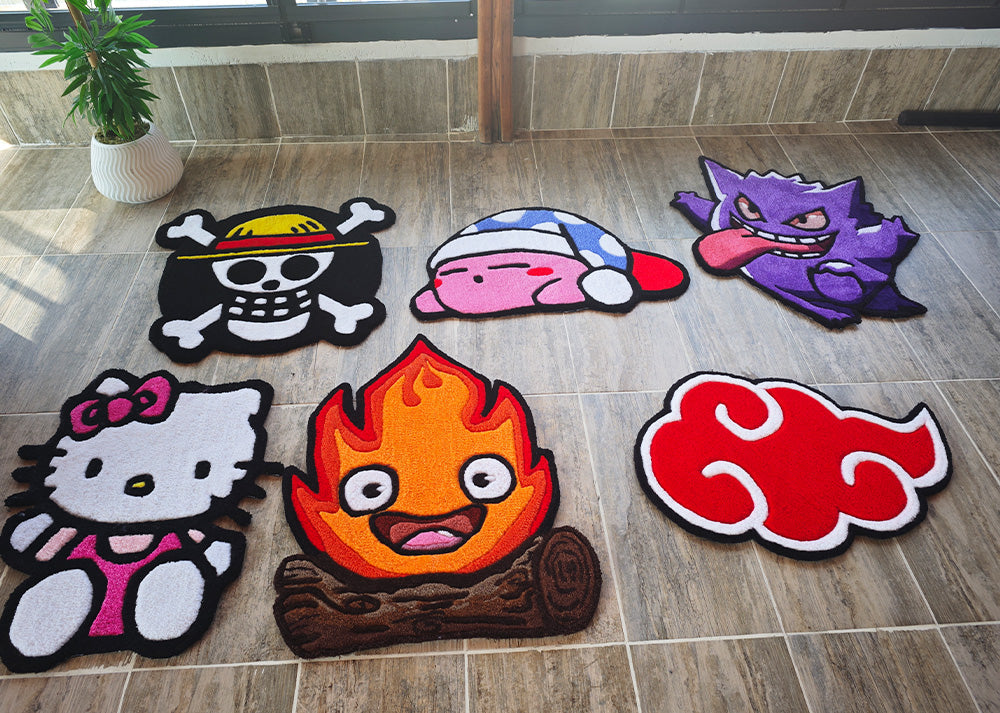
Tufted rugs do more than just add color to a room; they define the acoustics, warmth, and character of the space. Handmade and unique designs transform your living area from a standard catalog house into a personal "living gallery." In this article, the GG Tufting design team explores advanced placement strategies and material choices for every corner of your home. 🛋️ 1. Living Room: Heart of the Home The living room is where a tufted rug says, "I'm here!" However, where you place the rug changes how the size of the room is perceived. Advanced Placement Strategies: Front Legs On Makes space feel airy, connects furniture. All Legs On A luxurious and cohesive look. Focal Point: If your furniture is neutral (beige, gray), choose a rug with "art-like" asymmetrical patterns to be the star of the room. Layering: Place a smaller, amorphous colorful tufted rug over a large, solid jute or sisal rug. This creates a bohemian and rich texture. Trend Alert: Layering The secret to creating depth on the floor. Jute/Sisal Base Tufted Rug 🛏️ 2. Bedroom: Comfort and Texture The first thing your feet touch in the morning shouldn't be a cold floor, but a soft tufted rug. Here, texture is more important than pattern. Cut Pile Preference: Definitely use "Cut Pile" and high-pile rugs in the bedroom. This provides a hotel-comfort feel. The Rule of Three: Instead of placing one giant rug under the bed; place two long "Runners" on the sides and one piece at the foot of the bed. This makes cleaning easier and the space look more dynamic. Color Psychology: Instead of vibrant colors, choose "calming" palettes like pastels, earth tones, or cream to contribute to sleep quality. 🚪 3. Hallway and Entry: First Impressions These high-traffic areas are often neglected. However, the key to making narrow spaces look wider is the rug. 💡 Catwalk Effect:In a narrow hallway, use a long "Runner" leaving about 4-6 inches (10-15 cm) of gap at the edges. If the lines in the rug pattern are longitudinal, the hallway will look much longer and infinite. Durability is a Must: For entry areas, definitely use 100% Wool or high-quality Acrylic. The "Loop Pile" technique extends life in these areas as it is more resistant to crushing. Non-Slip: For safety, a "Latex Backing" or non-slip pad must be applied to the back of the rug. 🧸 4. Kids Room: Play Area Children's rooms are the center of imagination. Instead of standard rectangular rugs, use the freedom of tufting. Form Freedom: Design "die-cut" rugs in the shape of a cloud, a rocket, or their favorite animal. Tactile Play: Create surfaces that develop the child's sense of touch by creating areas of different heights (3D Carving) on the rug. Material Warning: Hypoallergenic and dust-repellent yarns (such as quality cotton or special acrylic) should be preferred for children's rooms. 🖼️ 5. Floor to Wall: Acoustic Art Tufting projects aren't just for the floor. The "Wall Hanging" trend has become indispensable for modern homes. Soundproofing: Tufted panels are excellent sound absorbers. Used to soften sound in echoey empty rooms or Home Offices. Gallery Wall: Instead of one large piece, create a collage by hanging 3-4 smaller tufted pieces of different sizes and shapes together. 🍳 6. Kitchen and Bath: Wet Area Solutions Using rugs in damp areas is risky but not impossible. Proper material selection is vital. ✅ PREFERRED 100% Acrylic or Cotton Yarn. Does not absorb water or dries quickly. ❌ AVOID 100% Wool Yarn. Traps moisture, does not dry, and causes odor/mildew over time. *Water-resistant glue must be used as backing for bath mats. Tufted rugs can be the complementary piece of decor in every room.
Learn more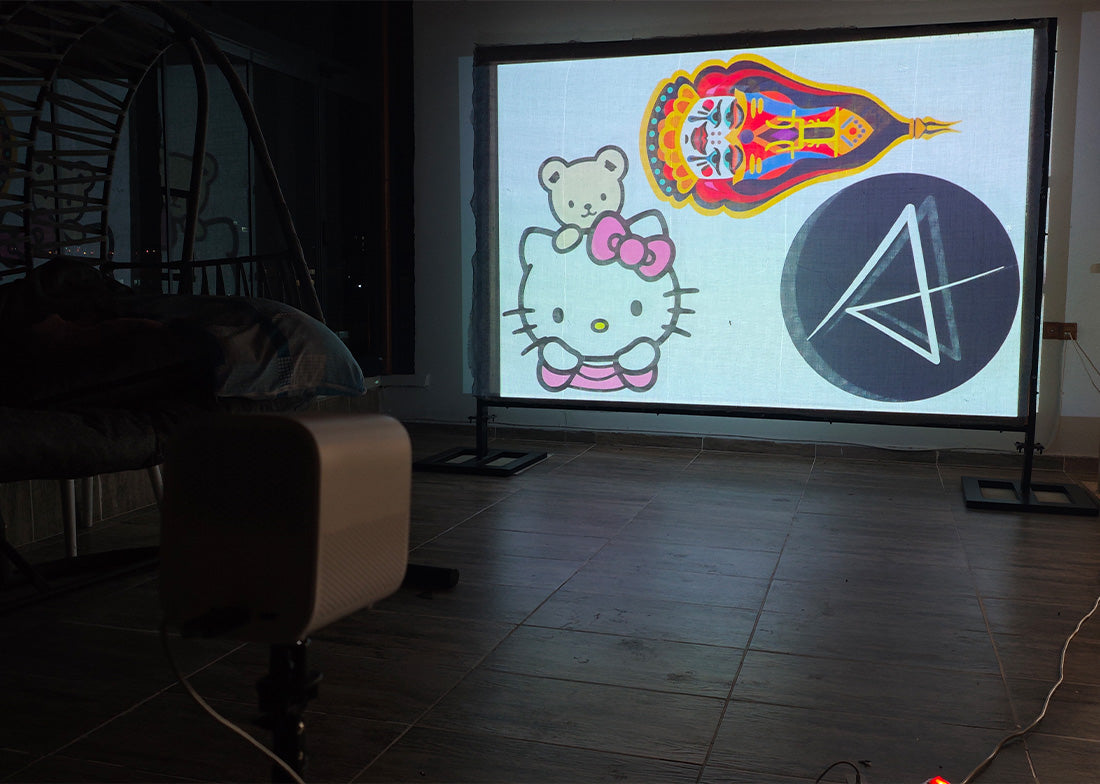
How to Create Tufting Patterns: Master Your Own Designs (Advanced Guide)
If you want to create a unique and personal touch in your tufting projects, designing your own patterns is a great starting point. Moving beyond ready-made templates gives your rugs a completely authentic identity. In this article, we examine the professional pattern preparation process at GG Tufting standards, from inspiration to digital drawing, color palette creation, and transferring designs to fabric. 💡 1. Inspiration Sources & Gathering Ideas Every great design starts with a spark. Professional designers take inspiration not from one place, but from textures around them. 🌿 Nature Organic forms, leaves, and "blob" shapes. 🎨 Abstract Art Minimalist lines and color blocks. 📐 Geometry Bauhaus-style sharp lines and circles. 📌 Pinterest Trend boards and color combinations. 💻 2. The Power of Digital Design Pen and paper is always a classic, but for advanced tufting, digital drawing minimizes errors and makes color testing easier. Software/App Use Case Advantage Procreate (iPad) Hand Drawing & Painting The most popular tool. Perfect for organic drawings with brush support. Adobe Illustrator Vector Drawing Never pixelates (distorts) when enlarged via projection. Canva Collage & Layout Creating patterns with ready-made components without drawing skills. Vector Q (Mobile) Photo to Vector Converts complex photos into simplified lines for tufting. 🎨 3. Color Palette and Yarn Selection Colors define the soul of the design. The color you see on the screen may not always match the yarn color perfectly. Therefore, start by determining a maximum of 4-6 main colors during the design phase. Color Ratio Example: Distributing colors in your design in a balanced way prevents eye fatigue. For example: 50% Main Color, 30% Secondary Color, 20% Accent Color. 🔄 4. The Golden Rule: Mirroring Since we work on tufting rugs from the back (reverse), the design must look correct when viewed from the front of the frame. Therefore, before transferring your design to the fabric, you MUST FLIP IT HORIZONTALLY. DESIGN VS. RESULT Drawing on Computer HELLO ➡️ Drawn on Fabric HELLO If you skip this step, especially in designs containing text, the writing will be read backwards when the rug is finished! 📽️ 5. Methods for Transferring Design to Fabric Projector (Most Professional): Project your digital drawing onto the wall-mounted frame and trace over it with a marker. The margin of error is zero. Freehand Drawing: Draw directly on the fabric with a permanent marker for simple and organic shapes. Stencil Cutting: Print on large paper, cut out the shapes, and outline them on the fabric. 🚀 6. Professional Design Tips Negative Space: You don't have to fill the entire rug. Sometimes, shaped rugs (non-rectangular designs where you cut around the shape) look more modern. Margins: Stay at least 2–4 inches (5-10 cm) inside the frame edges when drawing your design. Working too close to the edge is difficult, and the fabric doesn't stretch properly there. Complexity Control: A tufting gun is not a pen. Very fine details (smaller than 0.4 inches / 1 cm) and micro-text get lost in the rug. Simplify the design. Creating your own designs is the most enjoyable way to master the art of tufting.
Learn more
7 Common Tufting Mistakes Beginners Make (and How to Fix Them)
Tufting is a fantastic way to unleash your creativity, but for beginners, the technical details can sometimes be overwhelming. Overlooking small details during the rug-making process can lead to disappointing results. In this post, drawing from GG Tufting workshop experiences, we cover the 7 most common mistakes and how you can professionally fix them. 📐 1. Lack of Fabric Tension Problem: No Trampoline Effect = Trouble The Mistake If the tufting cloth is loose on the frame, the needle pushes the fabric instead of piercing it. This causes tearing and shifting patterns. The Fix Stretch the fabric "drum tight." It should make a solid sound when you flick it. If it loosens while working, stop and retighten immediately. 🧶 2. Wrong Yarn Selection Problem: Yarn Falling Out or Breaking The Mistake Using very thin, weak, or splitting yarn. The gun cannot feed this type of yarn properly and will constantly snap it. The Fix Use acrylic or wool yarn specifically made for tufting (usually 3 or 4-ply). The yarn must flow from the cone to the gun with "zero resistance." 🔫 3. Improper Gun Handling & Pressure The most critical rule in tufting: The gun shouldn't fight the fabric; it should merge with it. REQUIRED PRESSURE FORCE Too Light (Bouncing) Ideal (Glued to Cloth) Holding the gun away from the fabric. Moving in random directions instead of bottom-up. Push the metal foot hard into the fabric. Always move in the direction the needle opening faces (usually up). 🧴 4. Not Gluing Properly (Yarn Pull-out) Think your rug is done, but the yarn pulls out when you tug from the front? The issue is the glue. 💡 Pro Tip: Instead of cheap PVA (school glue), use professional Liquid Latex or carpet adhesive that retains flexibility. Ensure the glue penetrates all the way to the root of the yarn. 🖼️ 5. Forgetting to Mirror the Design Tufting is done from the back of the rug. Therefore, for the design to look correct on the front, you must flip your image horizontally. Digital Design HELLO ➡️ On The Cloth HELLO *Skipping this step is the biggest mistake, especially for text-based designs. 📏 6. Line Spacing (Density) Issues Too Dense or Sparse Overlapping lines makes the rug hard and deformed. Too much space between lines creates a balding look. Ideal Spacing Leave tiny gaps (millimeters) between lines. The yarn will bloom on the front side and naturally fill those gaps. 🛡️ 7. Insufficient Backing Material Applying glue and leaving it is not enough; it shortens the rug's life and causes it to slip. Solution: Always apply a second layer like "Action Back" (mesh) or thick felt over the glue. Edges: Use binding tape (twill tape) to secure and protect the borders of the rug. 🚀 Bonus Tips for Success Regular Maintenance: Clean and oil your gun after every project. Start Small: Don't start with a giant rug. Practice by making coasters first. Get Inspired: Don't be afraid to try different techniques; add dimension with carving shears. Mistakes are just part of the learning process.
Learn more
Tufting Cloth Guide: How to Choose the Best Fabric for Your Rugs (Beginner Friendly)
The fabric you choose for your tufting project plays a critical role in the quality and durability of the final result. Selecting the right cloth ensures that the yarn passes through smoothly, prevents the pattern from shifting, and extends the life of your rug. A tufting gun is a powerful tool; it can shred ordinary fabrics in seconds. In this guide, backed by GG Tufting expertise, we help you choose the right "canvas" for your art. 🧶 1. Types of Tufting Cloth: Which One is for You? Gold Standard 🛡️ 1. Premium Monk's Cloth A blend of Cotton and Polyester. Features yellow marking lines. It is flexible and adapts perfectly to needle entry. Use: Rugs, Pillows, Wall Hangings. Durability: Very High. Professional 🐘 2. Grey Polyester (Premium) 100% Polyester. Stiffer than Monk's cloth and has absolutely no stretch. Ideal for large-scale and commercial projects. Use: Large Floor Rugs. Durability: Extra High (Tear-proof). Caution 🌾 3. Burlap (Jute) Made from natural jute fibers. Very cheap, but cannot withstand the force of a tufting gun and shreds easily. Risk: Tearing, shedding fibers, smell. Recommendation: Use only for manual punch needle. 📊 2. Performance Comparison Tear Resistance & Ease of Use Monk's Cloth (Cotton/Poly) 95% Perfect Balance Grey Polyester 90% Very Sturdy (Less Stretch) Burlap (Jute) 40% Risky 🔍 3. What to Look for in a Good Fabric? Key Feature: Guidelines A good tufting cloth (Monk's Cloth) must have woven yellow or black lines every 2 inches (5 cm). These lines allow you to stretch the fabric evenly on the frame, preventing skewing and ensuring your pattern transfers correctly. 1. Hole Width (Weave) The needle should pass between the fibers, not break them. The fabric must have a "breathable," porous structure. 2. Elasticity (Trampoline Effect) When stretched, the fabric should have a slight bounce but hold its form. This prevents the gun from bouncing back. 🛒 4. Testing and Sourcing Fabric 💡 Quick Test Method:Try pulling a thread from the edge of the fabric. If the thread comes out immediately or the fabric unravels, it is not suitable for tufting. Tufting cloth has a tight, locked weave. Don't waste time in regular fabric stores trying to find the right cloth. Standard upholstery or clothing fabrics are not suitable for tufting. GG Tufting: Custom-made, flawless Monk's Cloth and Polyester fabrics. Online Search: Look for "Primary Tufting Cloth." Remember, the foundation of your project is the fabric. If the fabric is poor, even the best machine and yarn in the world cannot save the result. Start strong with GG Tufting quality!
Learn more
Tufting Supplies 101: The Ultimate Beginner’s Guide & Starter Kit Checklist
Rug tufting is a fun and deeply satisfying craft where you can express your creativity by making your own rugs, pillows, or wall art. However, having the right materials before you start is crucial. In this guide, backed by GG Tufting expertise, you will find the list of "Must-Haves" for transitioning from amateur to pro, along with the ideal starter kit breakdown. 🛠️ 1. The Essentials: Core Equipment These materials form the skeleton of your project and are the main components where quality should not be compromised. 1. Tufting Gun The engine of the craft. There are two main types: Cut Pile: Creates fluffy, soft, shag-style rugs. The most popular choice. Loop Pile: Creates tight, bead-like loops. More durable/compact finish. *Cut Pile is recommended for beginners. 2. Primary Tufting Cloth Ordinary fabrics cannot withstand the pressure. Monk's Cloth: 100% Cotton or Poly/Cotton blend. This is the professional standard—durable, flexible, and features yellow marking lines. Burlap: Cheap, but tears very easily. Not recommended for tufting guns. 3. Frame The fabric must be stretched tight "like a drum." Wooden Frame: Can be DIY. Uses "Gripper Strips" to hold the cloth securely. Tabletop Frame: Ideal for smaller projects and limited space. 🧶 2. Yarn Selection: Choosing the Right Fiber The quality of the yarn determines the lifespan of your rug. Here is a comparative performance chart: Wool - Most Durable & Luxurious ⭐⭐⭐⭐⭐ Acrylic - Economical & Colorful ⭐⭐⭐⭐ Cotton - Soft & Matte ⭐⭐⭐ *Acrylic is recommended for beginners due to its ease of use and affordability, while Wool is preferred for professional sales. 🧴 3. Finishing Supplies Carpet Adhesive (Glue) To lock the yarn from the back. Latex Adhesive is the best choice because it remains flexible when dry, preventing cracks when the rug is rolled. Secondary Backing The final layer glued over the adhesive. Felt or Action Back (mesh base) is typically used. Non-slip backing is also popular. 📋 4. The Ideal Starter Kit Checklist Your Shopping List 1x Tufting Gun (Cut Pile Recommended) 1x Primary Tufting Cloth (Min. 3x3 ft / 1x1m) 1x Tufting Frame (Or wood + gripper strips for DIY) 1x Yarn Threader (Usually comes with the gun) 4-5x Colorful Acrylic Yarn Cones 1x Carpet Adhesive (Latex based) 1x Secondary Backing Fabric (Felt) 1x Scissors and Spatula (For spreading glue) 💡 5. Pro Tips Optional but Life-Saving Tools: Projector: For transferring your design onto the cloth flawlessly. Yarn Winder: Turning skeins into "cakes" allows the yarn to feed smoothly without tangling. Carving Clippers (Shears): For sculpting the rug surface, smoothing it out, and creating 3D effects. Starting with the right materials is the most important step in your tufting journey.
Learn more
What is Tufting? The Ultimate Beginner’s Guide
Have you been seeing those colorful, fluffy rugs all over social media and wondering how they are made? It's a boundary-pushing, therapeutic, and deeply satisfying hobby called: Tufting. So, what exactly is tufting, how is it done, and why has it become so popular? At GG Tufting, we’ve compiled the A-to-Z details of this art form just for you. "Tufting is a modern weaving art where yarn is pushed through a fabric base using a needle or a special machine (tufting gun) to create loops or cut piles that form a design." ⚙️ 1. Core Techniques: Cut Pile vs. Loop Pile These are the first terms you'll encounter in the tufting world. This choice determines the texture of your masterpiece. CUT PILE The machine automatically cuts the yarn. The result is a fluffy, soft, and velvety surface. This is the most popular technique. LOOP PILE The yarn is not cut; it remains in loops. It creates a firmer, nubby, and durable texture. 🎒 2. Essential Materials for Beginners Tufting is much easier with the right equipment. Here is what you need in your studio: 🔫 Tufting Gun The engine of the craft. Electric guns make the work 10x faster compared to manual tools. 🧵 Tufting Cloth Regular fabric will tear. You must use "Monk's Cloth" or 100% Polyester Primary Tufting Cloth. 🧶 Yarn Acrylic (great for starters), Wool (for heirloom pieces), or Cotton yarn. 🖼️ Frame A wooden or metal frame with grippers to keep the cloth "drum-tight." 🚀 3. Step-by-Step Tufting Process 1. Prep & Stretching Staple or hook your tufting cloth to the frame until it is as tight as a "trampoline." It is impossible to work on loose fabric. 2. Transferring the Design Project your chosen design onto the cloth and trace it. Remember: Since we work from the back of the rug, don't forget to mirror (flip) your image! 3. Tufting Hold your gun perpendicular to the cloth and move from bottom to top, filling in the design. It's like coloring a coloring book with yarn. 4. Gluing & Finishing Once finished, apply "Carpet Glue" (Latex) to the back to lock the yarn in place. After it dries, cut it out, shave/carve the details, and apply the backing. ✨ 4. Why Tufting? 🧠 Therapeutic Effect Increases focus, reduces stress. It is a form of active meditation. 💰 Side Income You can earn money by selling your custom-designed rugs. 🏠 Unique Home Decor Create unique pieces for your home that you can't find in any store. 💡 Expert Tip:Don't try to make a giant rug on your first project. Start with a small mug rug or a mirror frame to get your hand used to the machine. Making mistakes is part of the learning process! Tufting is not just a hobby; it is a limitless field of creativity.
Learn more